7 Easy DIY Natural Face Wash Recipes for Radiant Skin
The first time Rita brought a small jar of honey and aloe vera into the bathroom and said, “this is our new face wash now,” we weren’t convinced.
It looked like something you’d put on toast.
Ten minutes later, her skin felt softer than it had in months.
That moment changed everything.
Four years later, after testing dozens of combinations across seasons, skin types, and climates, we’ve created seven DIY natural face wash recipes we truly trust. No filler formulas. No recycled ingredient lists. Just simple, effective blends that actually work.
Whether you’re searching for a gentle homemade cleanser for sensitive skin, a natural face wash for oily skin, or want to learn how to make your own face wash from scratch, you’ll find it here.
We are Doo and Rita — sisters, herbal wellness enthusiasts, and firm believers that your best skincare might already be in your kitchen.
Last updated: May 2026 · Prep time: 2–10 min · Cost: ~€1–€5 per batch · These are personal care recipes shared from our own experience—not professional advice of any kind.
⬇ JUMP TO RECIPE
⚡ QUICK ANSWER
What is the easiest DIY natural face wash to make at home?
Stir together 2 tbsp raw honey + 1 tbsp aloe vera gel + 2–3 drops lavender essential oil. Smooth onto damp skin, massage gently for 30 seconds, rinse with lukewarm water. Done in 2 minutes — and your skin will feel it.
2 min
~3 tbsp
~€1/batch
2 weeks
🌿 Why We Switched — And Never Looked Back
It started with a label. We were standing in the skincare aisle one afternoon, reading the back of a bottle we’d been using for years, and we genuinely could not identify a single ingredient. Not one. That felt like enough of a reason to try something different.
What surprised us most wasn’t that the natural versions worked — it was how they worked. Commercial cleansers tend to leave skin feeling squeaky clean, which sounds good until you realise that squeaky feeling is your skin telling you it’s been stripped of everything. A good DIY natural face wash feels different. It cleans without that tight, pulling sensation. Your skin feels soft rather than scrubbed.
Honey holds moisture close to the skin instead of washing it away. Clay draws out what doesn’t belong there without taking anything useful with it. These aren’t miracle ingredients — they’re just ingredients that actually make sense for skin.
You Know Every Ingredient
Nothing unpronounceable. Nothing you wouldn’t recognise in a kitchen.
Costs Almost Nothing
A full batch runs around €1–2. Most commercial cleansers cost five to ten times that.
Made for Your Skin
Adjust any recipe for your skin type, the season, or how your skin feels right now.
Nothing Extra
No synthetic fragrance, no harsh lathering agents, no preservatives your skin doesn’t need.
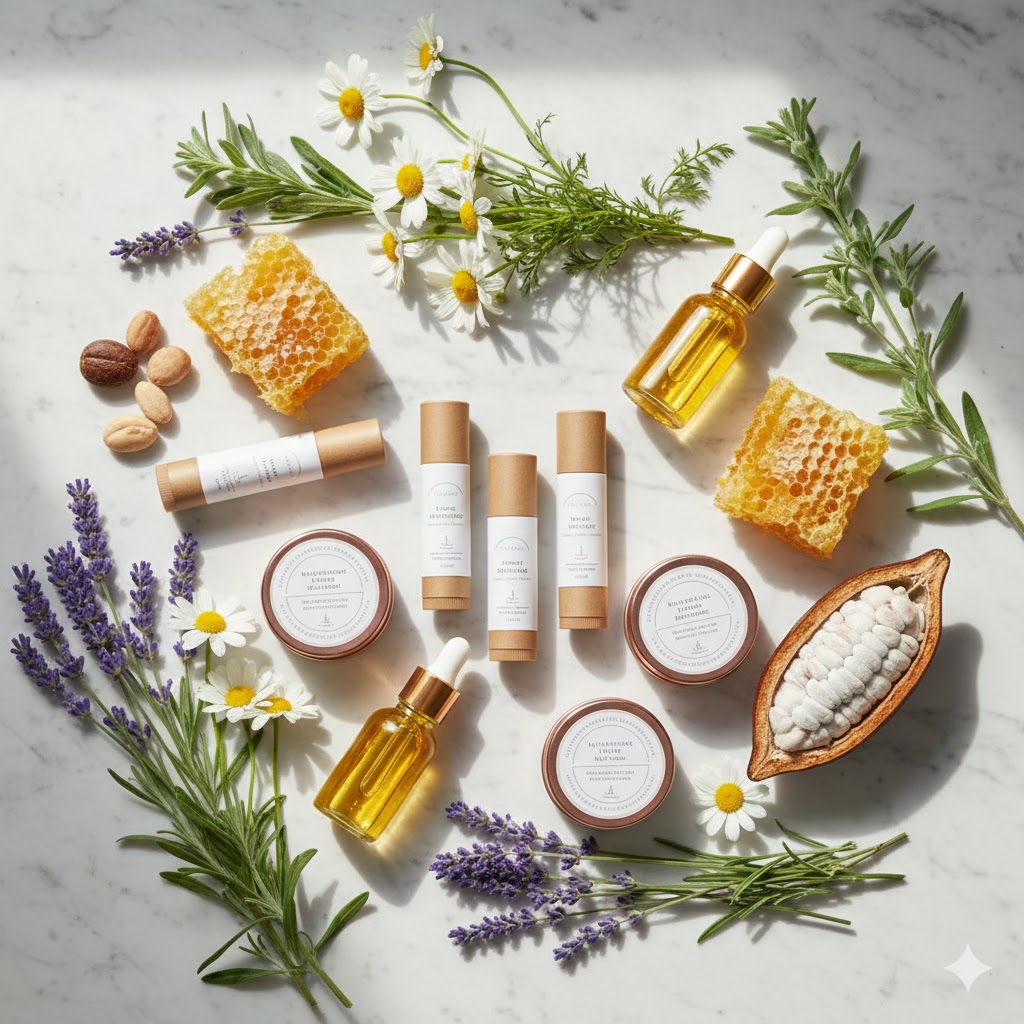
🌿 Ingredients Worth Knowing
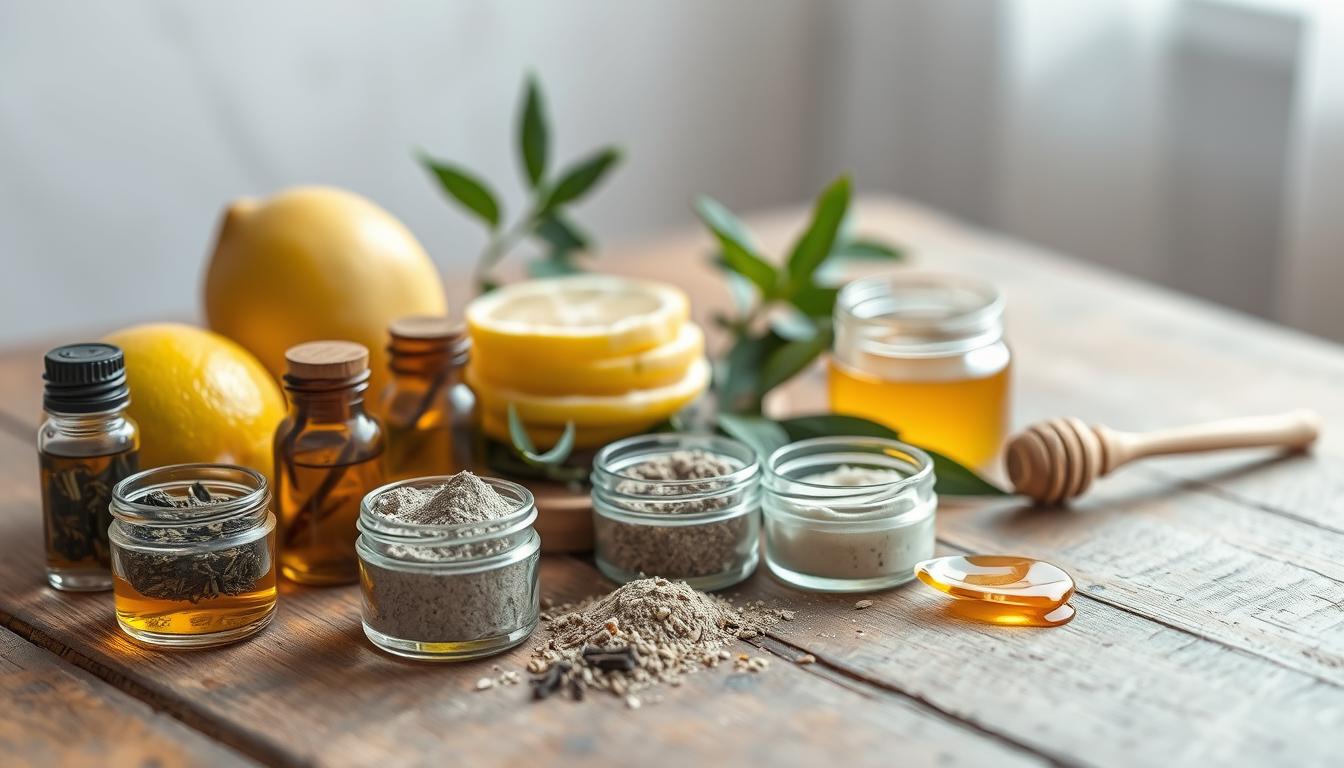
You don’t need a long shopping list to make a great face wash. Here’s what each ingredient actually does — so you can swap, adjust, and build formulas that feel genuinely yours.
| Ingredient | Best For | What It Actually Does |
|---|---|---|
| Raw honey | Sensitive, dry skin | Draws moisture toward your skin while cleansing it gently. Raw and organic works noticeably better than processed honey |
| Aloe vera gel | All types, especially reactive skin | Cooling, lightweight, calming — adds slip and softness without any heaviness. Fresh from the plant is noticeably better than bottled |
| Liquid castile soap | Most skin types | A plant-based cleanser that creates a gentle lather — the satisfying foam of a commercial wash, without anything harsh behind it |
| Jojoba oil | All skin types | Absorbs cleanly and quickly — sits comfortably on skin without leaving any greasy feeling behind |
| Kaolin clay | Oily, combination skin | The gentlest of the cleansing clays — pulls excess oil and environmental buildup to the surface without overdoing it |
| Activated charcoal | Oily, urban or combination skin | Pulls surface impurities upward effectively — powerful enough that 2–3 times per week is plenty. Does stain light towels |
| Colloidal oatmeal | Sensitive, reactive skin | Creates a soft, protective layer as it cleanses — must be ground very finely, otherwise the texture itself can irritate |
| Green tea | Normal, oily skin | A light, antioxidant-rich base that feels refreshing and clean — short shelf life, always refrigerate and use within 5 days |
| Apple cider vinegar | Oily, combination skin | Helps bring your skin’s natural balance back after it’s been over-cleansed — always dilute first, never use it straight |
🧴 7 DIY Natural Face Wash Recipes
Seven recipes for seven different skin moments — from a two-minute daily wash to a slow Sunday ritual. New to this? Start with Recipe 1. It is genuinely the easiest thing you will ever make for your face.
🍯 Recipe 1 — Honey & Aloe Vera Cleanser
The one we come back to every single week · Sensitive & dry skin · Ready in 2 minutes
🌿 INGREDIENTS
- ✔ 2 tbsp raw honey
- ✔ 1 tbsp aloe vera gel
- ✔ 2–3 drops lavender essential oil
📋 INSTRUCTIONS
- Spoon the honey and aloe vera into a small clean glass jar. Stir until they come together into a smooth, golden gel.
- Add the lavender oil and stir gently once more.
- To use: scoop a small amount onto damp fingertips, smooth over your face in soft circles for about 30 seconds, then rinse away with lukewarm water.
✅ Perfect for: Sensitive skin · Dry skin · First-timers · Everyday use
🫒 Recipe 2 — Oil Cleansing Method
Works for every skin type · The one that surprised us most · Perfect evening ritual
🌿 INGREDIENTS
- ✔ 2 tbsp jojoba oil
- ✔ 1 tbsp castor oil
- ✔ 1 tsp rose hip oil (optional but lovely)
- ✔ A soft muslin cloth
📋 INSTRUCTIONS
- Pour the oils into a clean amber glass bottle and shake gently to combine.
- To use: warm a few drops between your palms, then massage slowly over dry skin in upward circles for a full 60 seconds — don’t rush this part.
- Soak your muslin cloth in warm water, wring it out gently, and press it over your face for 20 seconds. Wipe away with soft strokes. Repeat once if needed.
✅ Perfect for: All skin types · Evening cleanse · Removing makeup · Dry and mature skin
🧴 Recipe 3 — Gentle Foaming Face Wash
The everyday workhorse · Suits almost everyone · That satisfying foam, naturally
🌿 INGREDIENTS
- ✔ 3 tbsp liquid castile soap
- ✔ 1 tbsp fractionated coconut oil
- ✔ 1 tbsp distilled water
- ✔ 5 drops lavender essential oil
📋 INSTRUCTIONS
- Add the water and coconut oil first into your foaming pump bottle, then pour the castile soap in last — this order keeps the mixture from getting too bubbly before you’re ready.
- Drop in the lavender oil and give the bottle a slow, gentle swirl — no vigorous shaking needed.
- One pump onto damp skin is all you need. The dispenser does the foaming for you. Massage gently and rinse with lukewarm water.
✅ Perfect for: Most skin types · Morning cleanse · Quick daily routine
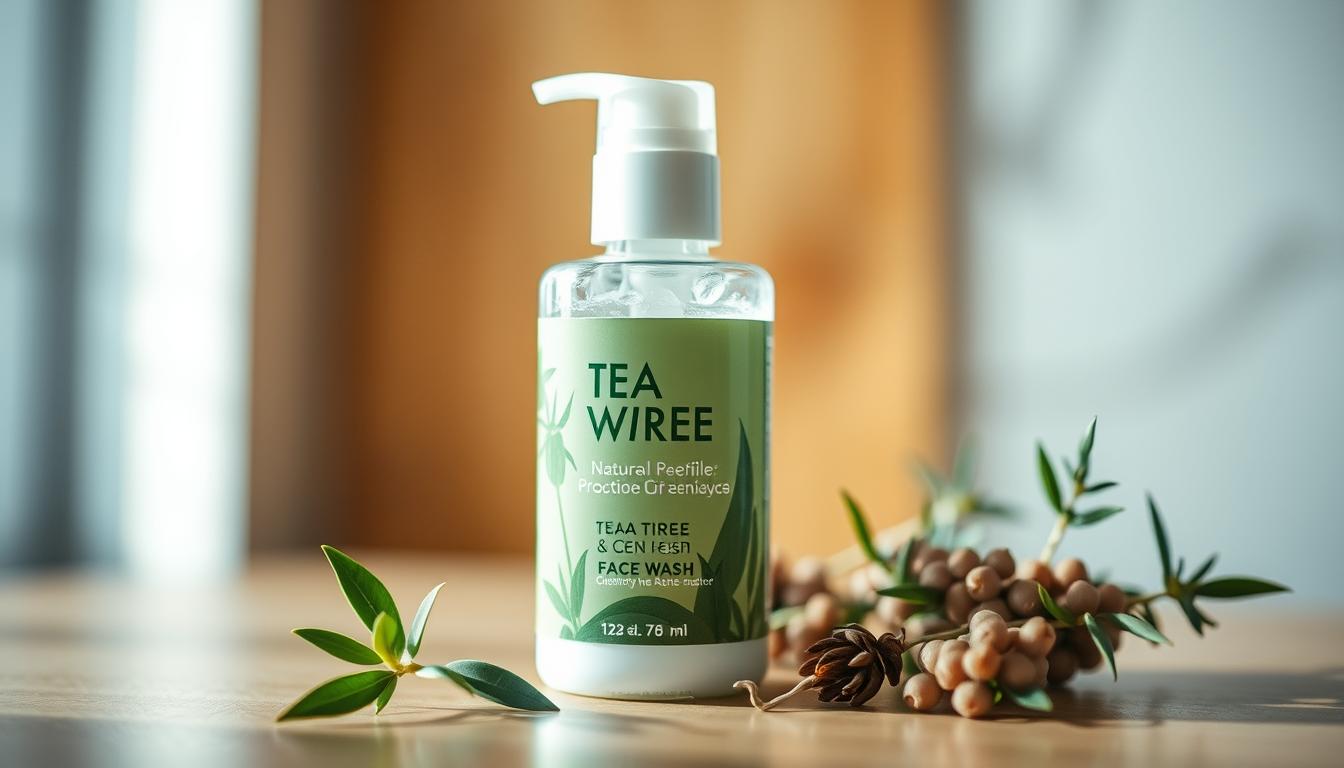
🖤 Recipe 4 — Charcoal Clarifying Cleanser
Our most-requested formula · Oily & combination skin · Sunday ritual · Max 3× per week
🌿 INGREDIENTS
- ✔ 2 tbsp liquid castile soap
- ✔ 1 tsp activated charcoal powder
- ✔ 1 tsp aloe vera gel
- ✔ 4 drops tea tree essential oil
📋 INSTRUCTIONS
- Mix the aloe vera and charcoal powder first in a small bowl until completely smooth — take your time here, lumps are hard to get rid of later.
- Stir in the castile soap and tea tree oil gently until everything is combined.
- Pour into a pump bottle. Give it a shake before each use. Apply to damp skin, massage for 30 seconds, and rinse thoroughly. Two to three times a week is plenty.
✅ Perfect for: Oily skin · Combination skin · City skin · Weekly reset
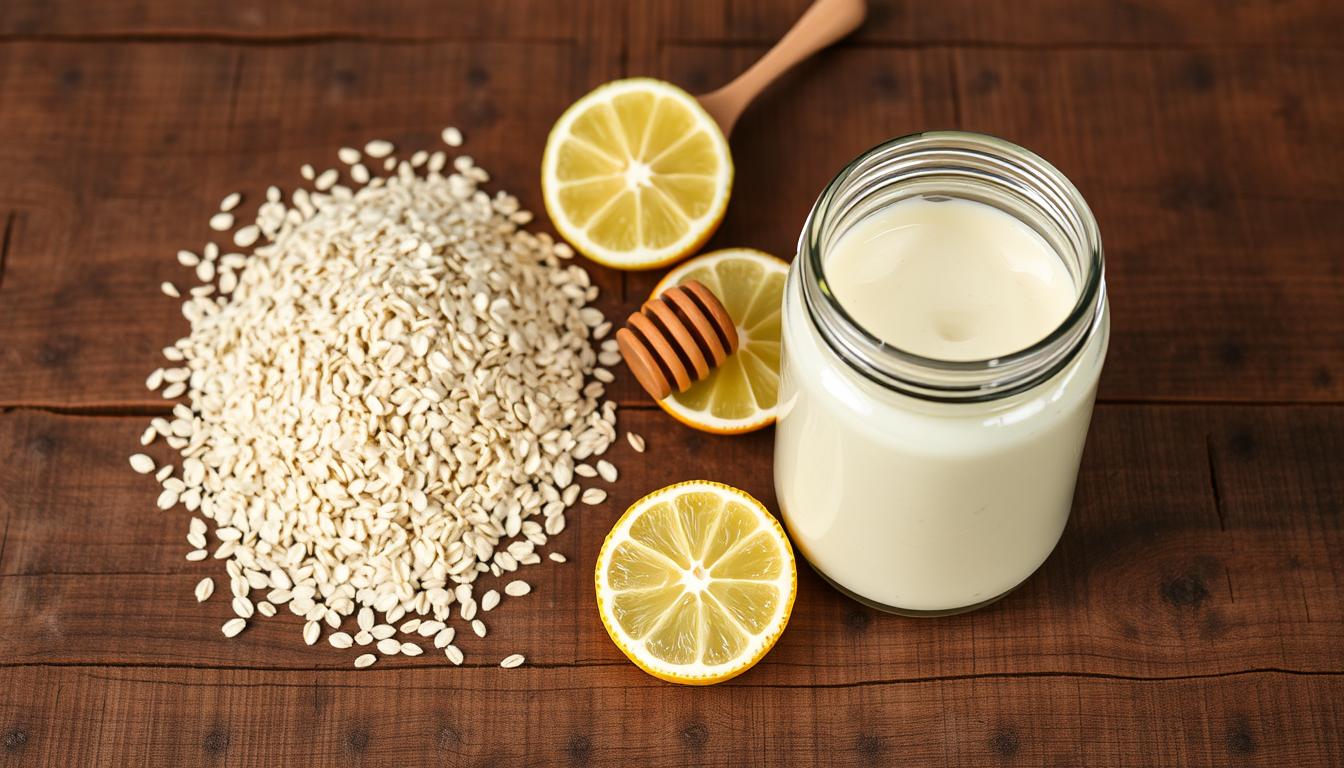
🌼 Recipe 5 — Oatmeal & Chamomile Soothing Wash
The gentlest formula here · For when skin needs kindness not cleansing · Post-sun favourite
🌿 INGREDIENTS
- ✔ 2 tbsp colloidal oatmeal (very finely ground)
- ✔ 1 tbsp chamomile hydrosol
- ✔ 1 tsp raw honey
📋 INSTRUCTIONS
- Grind your oats to a very fine powder and sift out any coarse bits — this step genuinely matters, please don’t skip it.
- Stir in the honey and chamomile hydrosol until you have a soft, spreadable paste — think thick pancake batter.
- Apply with the lightest possible touch to damp skin. No rubbing. Leave it on for 1–3 minutes if you like, then rinse with cool water. Keep in the fridge.
✅ Perfect for: Sensitive skin · Reactive skin · After sun exposure · Delicate skin
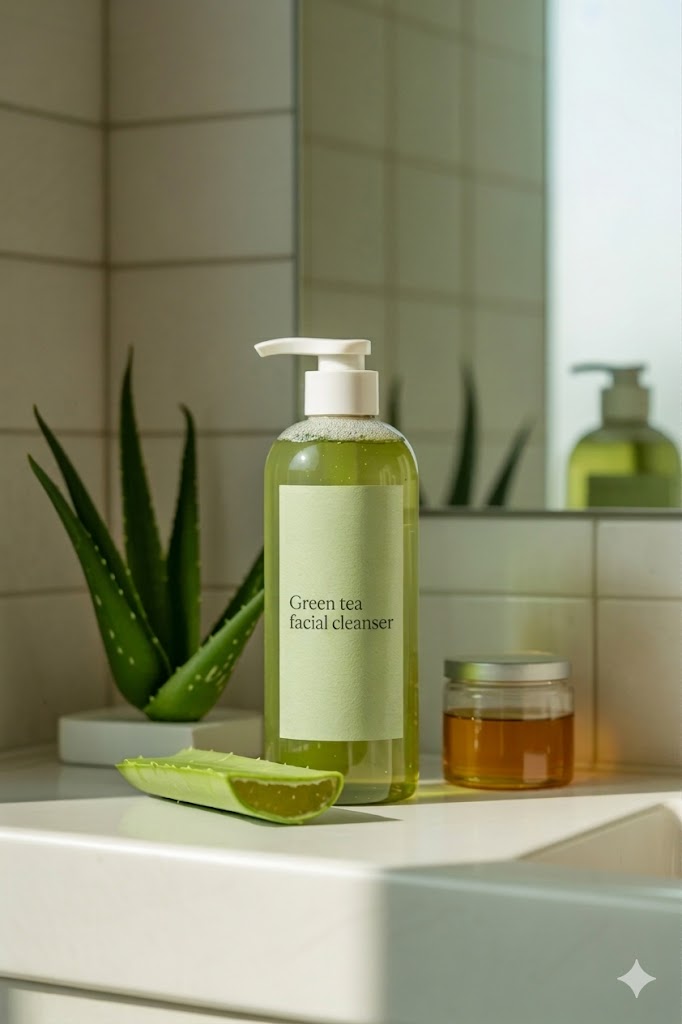
🍃 Recipe 6 — Green Tea & Cucumber Refreshing Wash
Summer morning ritual · Oily & normal skin · The most refreshing cleanse we know
🌿 INGREDIENTS
- ✔ 3 tbsp strong green tea, fully cooled
- ✔ 2 tbsp fresh cucumber juice
- ✔ 1 tsp vegetable glycerin
- ✔ 5 drops peppermint essential oil
📋 INSTRUCTIONS
- Brew your green tea strong — double the usual amount of leaves, steep for 10 minutes, and let it cool completely before using.
- Blend the cucumber and pour the juice through a cheesecloth or coffee filter to get it clear.
- Combine everything in a clean bottle, refrigerate straight away, and shake before each use. Apply with your hands or a cotton pad, then rinse.
✅ Perfect for: Oily skin · Normal skin · Morning cleanse · Summer · Antioxidant boost
🍏 Recipe 7 — Apple Cider Vinegar Balancing Wash
For skin that’s been over-stripped · Combination & oily · Always dilute — no shortcuts
🌿 INGREDIENTS
- ✔ 2 tbsp liquid castile soap
- ✔ 1 tsp raw apple cider vinegar (with the mother)
- ✔ 1 tbsp distilled water
- ✔ 3 drops lemon essential oil
📋 INSTRUCTIONS
- Start with the water and ACV together — dilution first, every single time, no exceptions.
- Add the castile soap and lemon oil. A note: don’t mix the soap and vinegar directly — they react with each other and you’ll end up with something less effective than either ingredient alone.
- Shake gently before each use. Smooth onto damp skin, massage for 30 seconds, and rinse with cool water.
✅ Perfect for: Combination skin · Oily skin · Dull or tired-looking skin · Post-workout
✅ How to Get the Best Results
The formula matters — but so does the way you use it. These few habits apply to all seven recipes and make a real difference to how your skin feels afterwards.
📋 The Method
- Start with damp skin — a splash of warm water first opens things up and helps every formula work better.
- Use less than you think — a small amount is all you need. If you’re scooping out handfuls, you’re using too much.
- Move slowly and upward — soft circular motions for 30 to 60 seconds. No scrubbing, no rushing.
- Rinse with lukewarm water — hot water is too much for most skin. Lukewarm is enough.
- Pat dry, never rub — then follow with a toner or hydrosol and a light moisturiser while skin is still slightly damp.
- Twice a day is plenty — more than that and even the gentlest formula starts to be too much.
💡 Shelf life at a glance: Oil-based formulas (Recipe 2)—up to 3 months, kept away from heat. Castile and ACV formulas (Recipes 3, 7)—3–4 weeks. Honey & Aloe (Recipe 1) — 2 weeks. Charcoal (Recipe 4) — 2–3 weeks. Fresh formulas with green tea or oatmeal (Recipes 5, 6)—refrigerate and use within 5 days. When in doubt, if it smells different, let it go.
🎯 Which Recipe Is Right for You?
| Your Skin | Best Recipes | One Thing to Remember |
|---|---|---|
| Sensitive or reactive | Recipe 1 (Honey & Aloe), Recipe 5 (Oatmeal) | Skip or halve the essential oil. Always patch test on your wrist first. |
| Dry or mature | Recipe 2 (Oil Cleansing), Recipe 1 | Warm cloth, never hot water. Your skin will thank you for the gentleness. |
| Oily or congested | Recipe 4 (Charcoal), Recipe 6 (Green Tea) | Don’t over-cleanse. Stripping oily skin makes it produce more oil — less is genuinely more here. |
| Combination | Recipe 3 (Castile Foam), Recipe 7 (ACV) | Balance is everything. Avoid anything too rich or too stripping. |
| Normal | Recipes 3 or 6 — rotate with the seasons | Richer and more nourishing in winter, lighter and fresher in summer. |
🔧 When Something Feels Off
| What’s happening | Most likely reason | What to try |
|---|---|---|
| Skin feels tight after rinsing | Too much castile soap or formula is too strong | Use less soap, add more aloe vera or a drop of glycerin |
| Skin feels greasy after oil cleansing | Cloth not warm enough, or not enough passes | Rewarm the cloth and wipe again — two passes instead of one |
| Formula separates in the bottle | Oil and water naturally separate without an emulsifier | Shake before every use — that’s normal and expected |
| Skin reacts to the essential oil | Concentration too high, or applied undiluted | Use half the amount and always mix into a carrier first |
| Formula goes off quickly | Tap water used, or jar wasn’t properly clean | Switch to distilled water and sterilise your containers before mixing |
| Oatmeal formula feels scratchy | Oats not ground finely enough | Blend again and sift — it should feel like a soft powder, not coarse flour |
| ACV formula stings on contact | Not diluted enough | Add more water and reduce the ACV to half a teaspoon to start |
| Skin feels different for the first few weeks | Normal — skin is adjusting after years of commercial products | Alternate with your usual cleanser and give it the full month |
❓ Questions We Get Asked a Lot
📚 A Little Science Behind the Ingredients
We are wellness enthusiasts, not researchers — but we like knowing that the ingredients we use daily have some solid backing behind them. Here are the studies we found most useful and relevant:
Honey — moisture-drawing and cleansing properties
Burlando, B. & Cornara, L. (2013). Honey in dermatology and skin care: a review. Journal of Cosmetic Dermatology, 12(4), 306–313. — View on PubMed ↗
This review covers honey’s well-documented ability to draw and hold moisture, along with its natural sugar content and gentle cleansing action — the research behind why we use it as a base in Recipes 1 and 5.
Aloe vera — soothing and softening on skin
Surjushe, A., Vasani, R., & Saple, D.G. (2008). Aloe vera: a short review. Indian Journal of Dermatology, 53(4), 163–166. — View on PubMed ↗
A well-cited review of aloe vera’s natural gel composition and its documented softening, film-forming effect on skin — the reason it shows up in Recipes 1, 4, and 5 as a key calming component.
Colloidal oatmeal — protective and calming on the skin surface
Kurtz, E.S. & Wallo, W. (2007). Colloidal oatmeal: history, chemistry and clinical properties. Journal of Drugs in Dermatology, 6(2), 167–170.
Documents how finely ground oatmeal forms a gentle protective layer on the skin surface and supports the skin’s own natural softness — the science behind Recipe 5 for sensitive and reactive skin.
Tea tree oil — naturally clarifying for skin
Carson, C.F., Hammer, K.A., & Riley, T.V. (2006). Melaleuca alternifolia (Tea Tree) oil: a review. Clinical Microbiology Reviews, 19(1), 50–62. — View on PubMed ↗
A comprehensive review of tea tree oil’s natural clarifying properties on the skin surface — the reason we include it in small amounts in Recipes 3 and 4 for oily and congested skin.
🧪 How We Actually Tested These
There is a lot of DIY skincare content out there written by people who have clearly never made or used the recipes they’re sharing. You can feel it — the vague instructions, the amounts that don’t quite work, the total absence of anything that went wrong. We wanted to write something different from that.
Here is what “tested by us” actually means in practice:
- Every single recipe has been made and used by us — not once as an experiment, but regularly over months before we wrote a word about it.
- We tested across seasons and climates — a formula that works beautifully in a cool European autumn behaves completely differently in a Moroccan summer. The shelf life guidance and storage notes in this article come from that experience directly.
- We kept track of what went wrong — the oatmeal batch that came out too coarse, the ACV formula that stung because we skimped on dilution. Those stories are in the recipes because they are genuinely the most useful information we have to share.
- We adjusted the ingredient amounts until they worked — what you see here isn’t what looked neat on paper. It’s what worked on real faces over real time.
- We checked the ingredient claims against published research — the sources section isn’t decorative. We actually read those papers and made sure what we were saying was backed up somewhere credible.
We are not professionals — just two sisters who care deeply about what goes on our skin and have been doing this long enough to have learned from a lot of mistakes. Your skin is different from ours. Your climate is different. If something in this guide doesn’t quite work for you, we’d genuinely love to hear about it and figure out why.
🌿 Keep Going With Your Natural Routine
3 DIY formulas that genuinely work.
The moisturiser that pairs perfectly after cleansing.
The same approach, applied to your hair.
Recipe 7’s sister guide — ACV for your hair routine.
One of our favourite additions to face wash formulas.
A wonderful addition to any oil cleansing blend.
We’re sisters, wellness enthusiasts, and kitchen skincare obsessives who’ve been making our own beauty products for over a decade. Everything in this guide has been made, tested, adjusted, and made again in our own homes before we wrote a single word about it. Last updated: May 2026.
⚠️ A note: This guide is for personal care and wellness inspiration only. We’re not professionals of any kind. Always do a small patch test before trying anything new on your face, and if you have a known skin concern, check with someone qualified before changing your routine. Questions? [email protected]