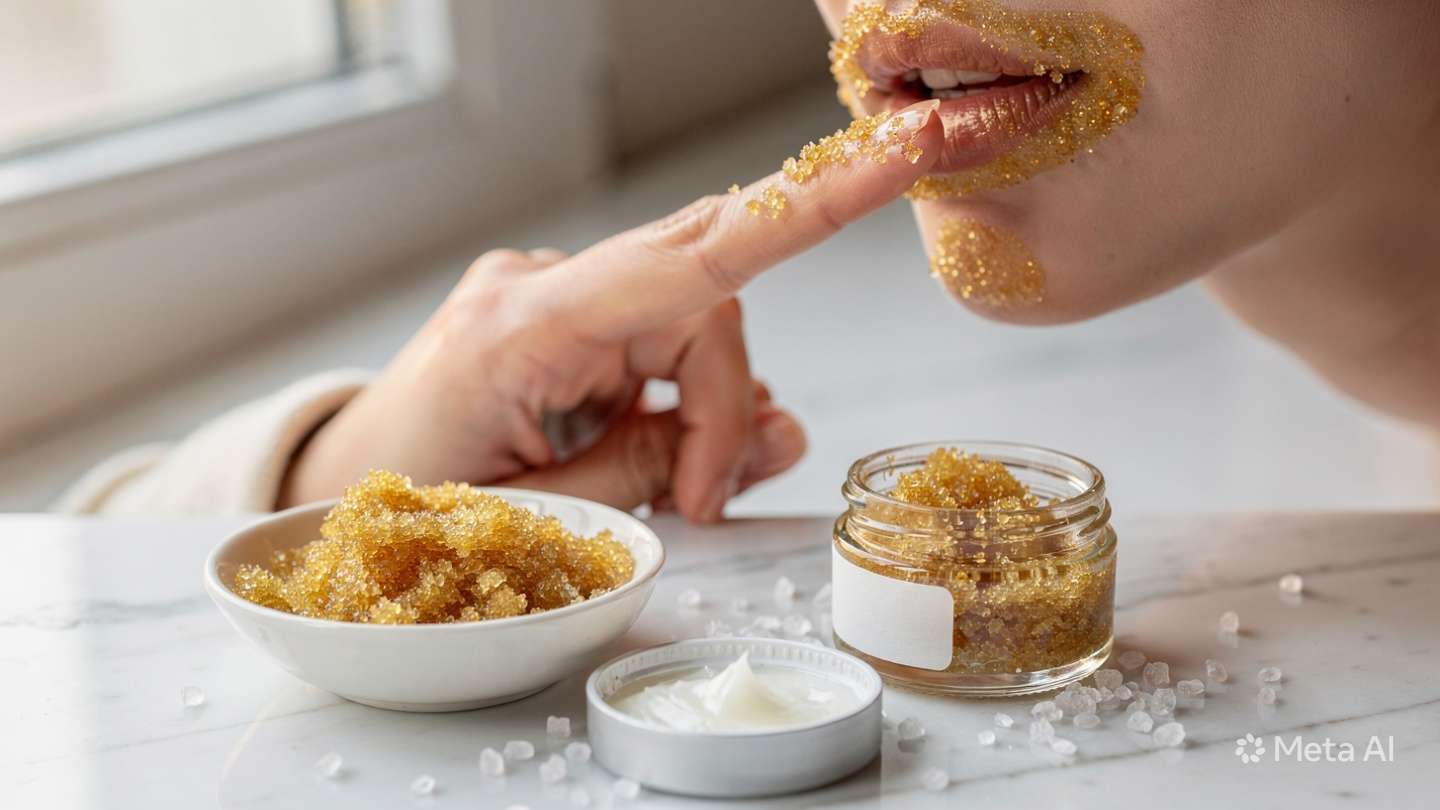
Close-up of a fingertip applying a golden homemade sugar and honey lip scrub to lips with a gentle circular motion, a small ceramic bowl, and sugar crystals on white marble nearby.

DIY Lip Scrub: 6 Homemade Recipes, How to Make It & How Long It Lasts

Spread the love

By Doo & Rita – 18 min read – tested on dry, sensitive & pigmented lips – 3+ years personal use

 Last updated: May 2026

A DIY lip scrub is the simplest homemade beauty formula there is—two ingredients, two minutes, and lips that feel immediately softer. Rita made her first one at 28 with sugar and honey from her kitchen, on a friend’s recommendation. She woke up the next morning to the smoothest lips she’d had in years. Three years and six tested recipes later, she hasn’t bought a single store-bought lip scrub since.

This is the complete guide: what a homemade lip scrub actually does, why sugar is the best exfoliant for lips (and which type to use), the six tested recipes for every lip concern, how to apply it correctly, and the honest answer to the question we get asked most—how long does a DIY lip scrub last? Everything you need in one place, nothing you don’t.

⚡ QUICK ANSWER

How do you make a DIY lip scrub?

Two ingredients, two minutes, immediate results. Here’s what matters:

Fine white or brown sugar
not coarse, not icing
Honey or oil base
coconut, shea or aloe
30 sec gentle circular
not aggressive scrubbing
Lip balm immediately
non-negotiable

Fastest start: 1 tsp fine white sugar + 1 tsp honey → gentle circular 30 sec → leave 60 sec → lick or rinse → lip balm immediately. That’s the complete formula.

🔍 DEFINITION — DIY LIP SCRUB

A DIY lip scrub — also called a homemade lip scrub, sugar lip scrub, or homemade exfoliator for lips — is a two-part formula made at home from kitchen ingredients. Part one is the exfoliant: fine sugar, brown sugar, or ground coffee, which physically loosens dead skin cells from the lip surface. Part two is the conditioning base: honey, coconut oil, shea butter or aloe vera gel, which softens and nourishes the freshly exfoliated lip skin simultaneously.

A sugar exfoliating scrub for lips is safe to lick off, costs almost nothing to make, and produces noticeably smoother lips from the very first use. All the recipes in this guide use food-grade ingredients only — the entire formula can be assembled in two minutes from ingredients already in most kitchens.

Key facts: All food-grade ingredients · 2 min to make · 1–2x per week · Always follow with a lip balm · Homemade lip scrubs last 2 days to 2 weeks depending on the recipe.

📋 FULL CHEAT SHEET — DIY LIP SCRUB

Lip ConcernBest RecipeSugar TypeShelf LifeFrequency
Dry / flakySugar + honey + coconut oilFine white sugar1 week fridge2x per week
Dull / pigmentedBrown sugar + lemon + honeyBrown sugar2 days fridge1x per week
SensitiveCaster sugar + aloe veraCaster sugar5 days fridge1x per week
Chapped / winterSugar + shea butter + vanillaFine white sugar2 weeks fridge2x per week
Plumping effectBrown sugar + cinnamon + honeyBrown sugar1 week fridge1x per week max
Dark / stained lipsCoffee + coconut oil + honeyGround coffee3–4 days fridge1x per week
MaintenanceSugar + honey onlyFine white sugar1 week fridge1x per week
💧 Dry / flaky
Shelf life1 week fridge
Frequency2x per week
✨ Dull / pigmented
Shelf life2 days fridge
Frequency1x per week
🌸 Sensitive
Shelf life5 days fridge
Frequency1x per week
❄️ Chapped / winter
Shelf life2 weeks fridge
Frequency2x per week
💋 Plumping
Shelf life1 week fridge
Frequency1x per week max
☕ Dark / stained
Shelf life3–4 days fridge
Frequency1x per week

What a DIY Lip Scrub Actually Does—and Why Lips Need It

Lip skin is fundamentally different from the rest of the face—it has no sebaceous glands, no sweat glands, and a much thinner outer layer than facial skin. This means lips produce no natural oil and lose moisture faster than any other area. The result is a familiar cycle: lips dry out, dead cells accumulate on the surface, lip balm gets applied on top of that dead cell layer rather than reaching the living skin beneath, and nothing really improves for long.

A homemade lip scrub breaks that cycle by doing two things simultaneously. The exfoliant—fine sugar, brown sugar, or ground coffee—physically removes the dead cell layer. The conditioning base—honey, coconut oil, shea butter, or aloe vera—softens and nourishes the freshly exposed skin as the scrubbing happens. The result is not just temporarily smoother lips but lips that are actually able to receive and retain moisture from whatever you apply afterwards.

💡 Why lip balm alone is never enough: Without removing the dead cell barrier first, even the best lip balm sits on top of dry skin rather than nourishing the living lip surface beneath. A weekly sugar exfoliating scrub for lips is what allows balm to actually work. For the best natural balm to apply immediately after, see our natural lip balm guide. A complete lip care approach also fits naturally within a broader natural skincare routine.

🔬 No sebaceous glands

Lips produce zero natural oil — which is why they dry faster than any other part of the face.

💧 Dead cell barrier

Accumulated dead cells block lip balm from reaching living skin. Exfoliation removes the barrier.

🌿 Self-dissolving sugar

Sugar dissolves on contact with moisture — naturally limiting abrasion, making it the safest kitchen exfoliant for lips.

⚖️ Dual action

Exfoliates and conditions simultaneously — the oil or honey base nourishes as the sugar works.

White Sugar vs Brown Sugar for Lips—Which One to Use

Sugar is the best natural exfoliant for lips because it dissolves as it contacts moisture—self-limiting its abrasion and making it inherently safe on delicate lip skin. But not all sugars are equal. The type you choose changes the texture, gentleness, and result of your scrub significantly.

Sugar TypeTextureBest ForVerdict
Fine white sugarSmall, uniform — dissolves quicklyAll lip types, regular use✓ Best all-rounder
Brown sugarSlightly coarser + molasses contentDull, pigmented or stained lips✓ Best for brightening
Caster sugarVery fine — minimal abrasionSensitive or reactive lips, beginners✓ Gentlest option
Ground coffeeFine but stays solid — more contactDark or stained lips (Recipe 6 only)~ Use gently, 1x/week
Coarse / raw sugarLarge irregular crystalsBody scrubs only — not lips✗ Too abrasive for lips
⬜ Fine white sugar
Best forAll types, regular use
Verdict✓ Best all-rounder
🟫 Brown sugar
Best forDull, pigmented lips
Verdict✓ Best for brightening
🔵 Caster sugar
Best forSensitive lips, beginners
Verdict✓ Gentlest option
☕ Ground coffee
Best forDark / stained lips only
Verdict~ 1x/week max
🟡 Coarse / raw sugar
Best forBody scrubs only
Verdict✗ Avoid on lips

Conditioning Bases Compared—Honey, Coconut Oil, Shea Butter & Aloe Vera

The conditioning base is the second half of any homemade lip scrub. It determines how nourishing the result is and which lip type the recipe suits. Here is an honest comparison of the four main options.

🍯 Honey

Acts as both a humectant (draws moisture from the air) and a conditioning agent. The most versatile base. Raw honey retains more active compounds than processed honey. Safe to lick off. Best for: all lip types, general use, beginners.

Shelf life: 1 week fridge

🥥 Coconut Oil

Rich, deeply conditioning — softens lip skin noticeably on contact. Virgin coconut oil has a natural sweet scent that works well in lip formulas. Melt between fingertips before using. Safe to lick. Best for: dry, flaky or cracked lips.

Shelf life: 2–3 weeks fridge

🧈 Shea Butter

The richest base — high fatty acid content creates the deepest conditioning effect of all four options. The best choice for severely chapped or winter-stressed lips. Also the longest shelf life. Best for: severely chapped, cracked, winter lips.

Shelf life: 2 weeks fridge

🌿 Aloe Vera Gel

The gentlest base — calming, no fragrance, no stickiness. The same 99%+ gel used in the aloe vera face mask routine works directly here. For honey-intolerant lips. Best for: sensitive or reactive lips.

Shelf life: 5 days fridge

How to Make a DIY Lip Scrub — The Universal Base Method

This method applies to all six recipes below. The ratio, technique, and timing are the same regardless of which sugar and base you choose. Learn it once, and every recipe becomes a two-minute routine.
⭐ BASE METHOD

🌿 How to Make a Homemade Lip Scrub

Works for all 6 recipes · 2 minutes · Food-grade only · Makes 1–3 uses

⏱ Prep2 min
💋 Use90 sec
📅 Frequency1–2x/week
🧊 StorageUp to 2 weeks
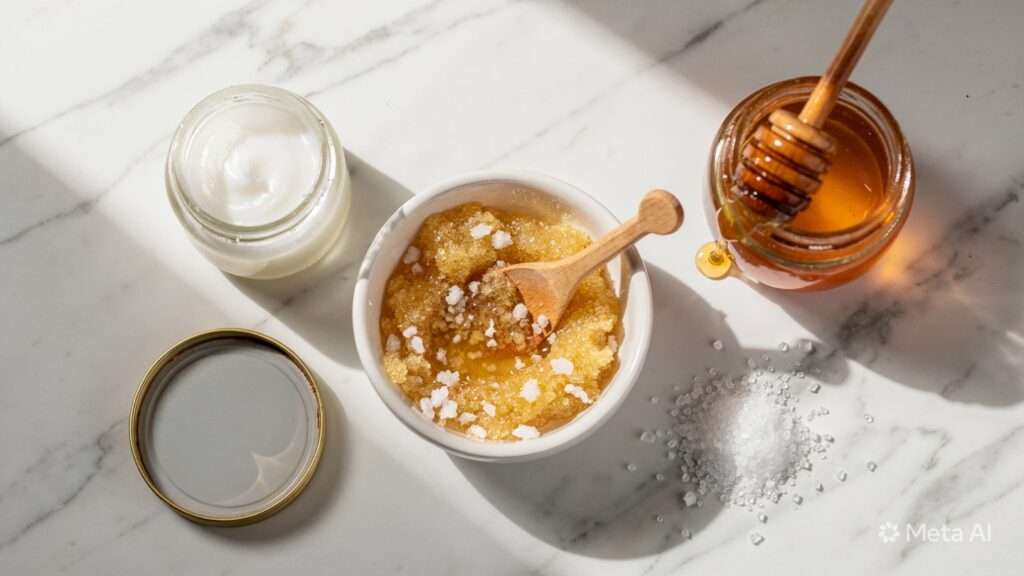
1 part sugar + 1 part conditioning base
Example: 1 tsp sugar + 1 tsp honey · Adjust texture to your preference
  1. 1Combine sugar and base in a small bowl or your palm. Equal parts is the starting point — 1 tsp each. If the mixture is too runny, add more sugar. If too dry and crumbly, add a drop more oil or honey. A soft spreadable paste is what you want.
  2. 2Add any recipe-specific ingredients and mix well. Vanilla extract, cinnamon, lemon juice, vitamin E, aloe vera — whatever the recipe calls for. Mix until combined. The scrub should smell clearly pleasant.
  3. 3Use immediately or store in a sealed glass jar in the fridge. Always scoop with a clean dry spoon — never dip a finger that has touched lips into the jar. See the shelf life section below for timings by recipe.
🌿 From Rita’s routine: She makes Recipe 1 directly in the palm of her hand for immediate single use — sugar, honey, coconut oil, mixed in 30 seconds. For a batch to last the week, she uses a clean bowl and a small glass jar. The palm method is faster; the jar method is more practical.

How to Use a Homemade Lip Scrub Properly

💋 The Correct Application Method

Clean lips · 30 sec gentle circular · 60 sec leave-on · Lip balm immediately

  1. 1Start with clean, bare lips — no balm or lipstick. The scrub needs direct contact with lip skin. If lips are very dry and tight, dampen them very slightly first — this helps the sugar dissolve more gently.
  2. 2Apply with a fingertip — gentle circular motion for 30 seconds. Barely-touching pressure is correct. Circles, not back-and-forth. 30 seconds is the right duration — the exfoliant does the work, not the force.
  3. 3Leave on for 60 seconds without additional scrubbing. Stop moving and let the mixture sit. The sugar continues to dissolve and the base continues to absorb. This rest minute is frequently skipped and makes a noticeable difference to the result.
  4. 4Remove by licking, dabbing or rinsing. All three work for honey and oil-based recipes. For recipes containing lemon juice, cinnamon or coffee, rinse with cool water rather than licking off.
  5. 5Apply lip balm immediately — within 60 seconds of rinsing. This is non-negotiable. The freshly exfoliated lip surface absorbs moisture faster than at any other time. Without immediate balm, lips dry out faster than before the scrub. Our natural lip balm guide covers the best plant-based options to apply at this moment.
💋 From Rita’s routine: She does her lip scrub as the last step of her evening skincare routine — after her face mask, after her moisturiser. The lip balm applied after stays on overnight, which is when freshly exfoliated lips absorb the most. The whole thing takes under three minutes and the difference the following morning is consistently noticeable.

6 Lip Scrub Recipes — One for Every Concern

All six recipes use food-grade kitchen ingredients. Quantities make 1–3 uses. Double everything and store in a sealed jar for a week’s supply—see the shelf life guide below for storage timings per recipe.

Recipe 1—Classic Sugar, Honey & Coconut Oil (Dry & Flaky Lips) ⭐
The original · Rita’s everyday formula · Best all-round sugar lip scrub · Safe to lick

🧊 1 week fridge 📅 2x per week

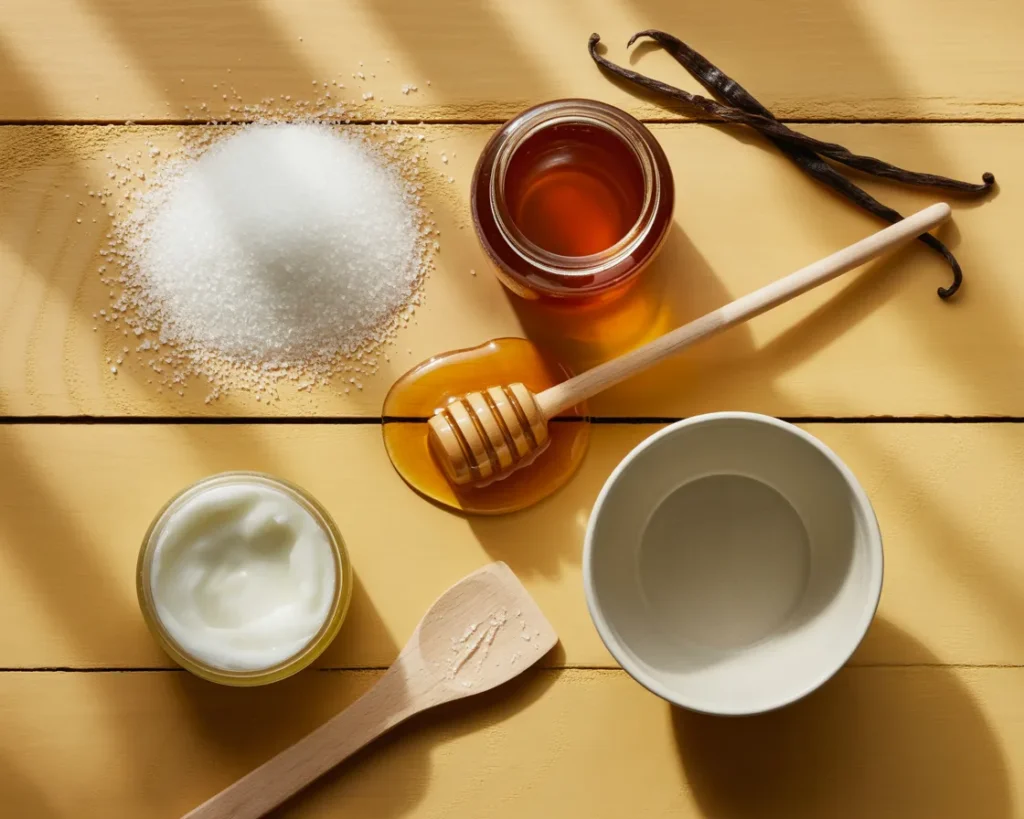
The classic sugar lip scrub — honey binds and conditions, coconut oil nourishes deeply, white sugar exfoliates gently. Together they produce the most immediately comfortable and conditioning result. This is the formula to start with if you have never made a homemade lip scrub before, and the one most people keep making three years later.

🌿 INGREDIENTS

  • ✦ 1 tsp fine white sugar
  • ✦ ½ tsp raw honey
  • ✦ ½ tsp virgin coconut oil (melted)

📋 METHOD

  1. Mix all three in a bowl or palm.
  2. Apply. Gentle circles 30 sec.
  3. Leave 60 sec. Lick or dab off.
  4. Apply lip balm immediately.
🌿 From Rita’s routine: Three years in, this is still the formula she makes most often — directly in the palm of her hand in under a minute. The coconut oil makes a visible difference to how soft lips feel the following morning compared to the plain sugar-and-honey version alone.

Recipe 2 — Brown Sugar, Lemon & Honey (Dull & Pigmented Lips)

Brightening brown sugar lip scrub · Deeper exfoliation · Evening only · Rinse off

🧊 2 days fridge 📅 1x per week

A brown sugar lip scrub with lemon delivers a deeper exfoliation and a brightening effect over time for dull or darker lips. Brown sugar’s coarser texture combined with lemon’s character makes this the most targeted recipe for uneven lip tone. Use in the evening only — lemon increases photosensitivity — and always rinse off rather than licking.

🌿 INGREDIENTS

  • ✦ 1 tsp brown sugar
  • ✦ ½ tsp raw honey
  • ✦ 4 drops fresh lemon juice

📋 METHOD

  1. Mix sugar and honey. Add lemon last.
  2. Apply. Very gentle circles 30 sec.
  3. Leave 60 sec. Rinse — do not lick.
  4. Apply lip balm. Evening only.
⚠ Important: Rinse off completely — do not lick. Do not use before sun exposure. Do not use on cracked lip skin.

Recipe 3 — Caster Sugar & Aloe Vera (Sensitive Lips)

The gentlest recipe · No honey · For sensitive or reactive lips

🧊 5 days fridge 📅 1x per week

Aloe vera gel as the conditioning base produces the most calming result — no fragrance, no stickiness, no irritants. The same 99%+ aloe vera gel used in the aloe vera face mask works here. Caster sugar keeps the exfoliation minimal. This recipe is the right choice for lips that react to honey or conventional scrubs.

🌿 INGREDIENTS

  • ✦ 1 tsp caster sugar (very fine)
  • ✦ 1 tsp pure aloe vera gel (99%+)
  • ✦ 1 vitamin E capsule (optional)

📋 METHOD

  1. Mix all ingredients well.
  2. Very gentle circles 20–30 sec.
  3. Leave 60 sec. Rinse with cool water.
  4. Apply lip balm immediately.

Recipe 4—Sugar, Shea Butter & Vanilla (Chapped & Winter Lips)
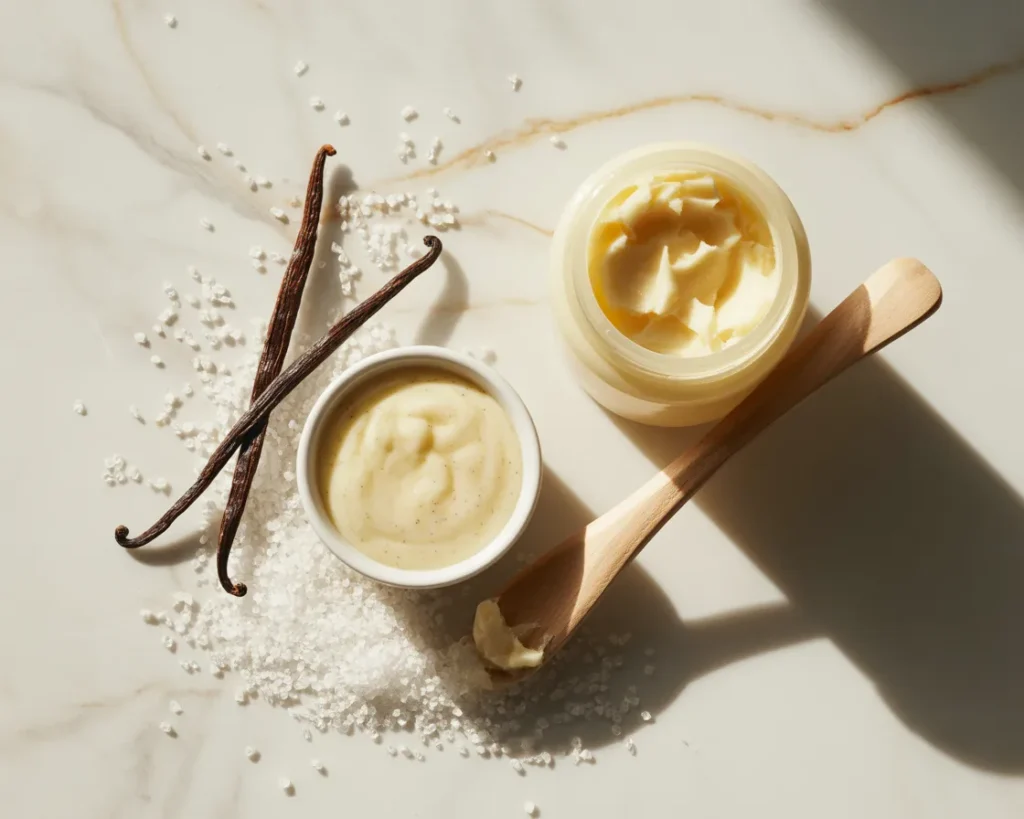
Most nourishing formula · Winter chapped lips · Longest shelf life · Smells the best

🧊 2 weeks fridge 📅 2x per week

Shea butter’s high fatty acid content delivers the deepest conditioning of all six recipes — outperforming coconut oil when lips are severely dry or cracked. Vanilla adds a genuinely warm, pleasant scent. This is Rita’s winter formula and the recipe with the longest shelf life thanks to shea butter’s natural fat stability.

🌿 INGREDIENTS

  • ✦ 1 tsp fine white sugar
  • ✦ 1 tsp shea butter (softened)
  • ✦ 1 drop pure vanilla extract

📋 METHOD

  1. Soften shea butter between fingertips.
  2. Mix with sugar and vanilla.
  3. Apply. Gentle circles 30 sec. Leave 60 sec.
  4. Lick or dab off. Extra shea butter after.
❄️ From Rita’s winter routine: The shea butter base gives this recipe a balm-like texture that means no additional lip balm is needed after use. She makes a slightly larger batch and stores it in a small pot — it is the only recipe she keeps at room temperature rather than in the fridge because the shea base is stable enough.

Recipe 5 — Brown Sugar, Cinnamon & Honey (Plumping Effect)

Temporary plumping · Pre-occasion use · Once a week maximum · Rinse off

🧊 1 week fridge 📅 1x per week max

Cinnamon temporarily increases circulation to the lip surface — producing a gentle plumping sensation and natural flush that lasts 30–60 minutes. Best used before a special occasion or before applying lipstick. Once a week maximum — cinnamon can cause irritation with overuse on sensitive lip skin.

🌿 INGREDIENTS

  • ✦ 1 tsp brown sugar
  • ✦ 1 tsp raw honey
  • ✦ ¼ tsp ground cinnamon

📋 METHOD

  1. Mix all three ingredients well.
  2. Light circles 30 sec. Warming normal.
  3. Leave 60 sec. Rinse with cool water.
  4. Apply lip balm. 1x per week max.
⚠ Note: If stinging occurs, rinse immediately. Not suitable for sensitive lips — use Recipe 3 instead. Do not use on cracked lip skin.

Recipe 6 — Ground Coffee, Coconut Oil & Honey (Dark & Stained Lips) ☕
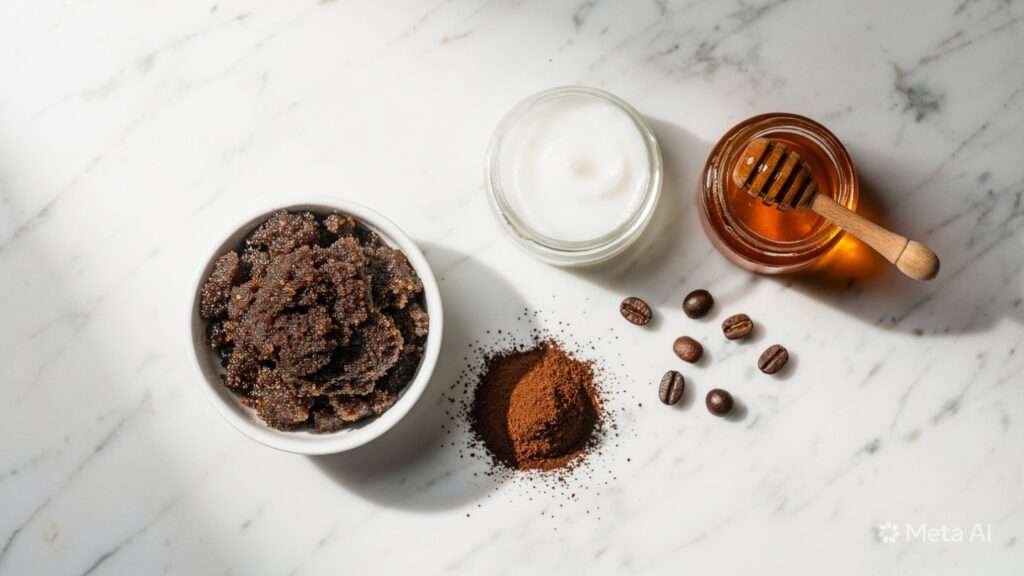
The only non-sugar recipe · Deeper exfoliation · For dark or stained lips · Rinse thoroughly

🧊 3–4 days fridge 📅 1x per week

Ground coffee is the only common kitchen exfoliant that doesn’t dissolve on contact — making it more persistent for deeply stained lips. Use extra-fine ground coffee (espresso grind or finer) only — not coarse cafetière grounds. The temporary light-brown tint on lips after use rinses away within minutes. Use at most once a week and rinse very thoroughly.

🌿 INGREDIENTS

  • ✦ 1 tsp extra-fine ground coffee
  • ✦ ½ tsp virgin coconut oil
  • ✦ ½ tsp raw honey

📋 METHOD

  1. Mix coffee, coconut oil and honey.
  2. Very light circles 20–30 sec only.
  3. Leave 30 sec. Rinse very thoroughly.
  4. Apply rich lip balm immediately.
☕ From our testing: The temporary coffee-brown tint on lips rinses away completely within 2 minutes. The real caution here is leave-on time: 30 seconds maximum because coffee stays solid and continues abrading. Keep it brief and extra gentle.

How Long Does a DIY Lip Scrub Last? — Complete Storage Guide

This is the question we get asked most. The answer varies significantly by recipe — the key variables are whether the recipe contains fresh citrus juice, aloe vera or coffee; whether it’s stored in the fridge; and whether it’s kept in a sealed jar with clean utensils.

SUGAR + HONEY + OIL

1 week fridge

3–4 days at room temperature. Honey acts as a natural preservative. Recipes 1 and 5. Use a clean dry spoon every time.

SHEA BUTTER BASE

2 weeks fridge

Shea butter is a stable fat with a long shelf life — the most durable base. Recipe 4. Up to 1 week at room temperature in a cool bathroom.

ALOE VERA BASE

5 days fridge

Water-based — shorter shelf life than oil recipes. Recipe 3. Do not store at room temperature. Discard if it smells sour.

CITRUS / COFFEE RECIPES

2–4 days fridge

Fresh juice and coffee introduce bacteria quickly. Recipes 2 and 6. Make in small batches. Never store at room temperature.

🧊 Universal storage rules for all recipes:
  • Always store in a sealed glass jar — never open containers
  • Always scoop with a clean dry spoon — never dip a used finger into the jar
  • Discard immediately if it smells off, changes colour or develops a film
  • Label with the date made — a small piece of tape takes 5 seconds
  • When in doubt, make fresh — all recipes take under 2 minutes

7 Mistakes That Explain Why Lips Keep Flaking

❌ Scrubbing too hard

The most common mistake. Aggressive scrubbing creates micro-tears in lip skin that cause rawness and post-scrub dryness. Barely-touching pressure is correct. The sugar does the work, not the force.

❌ Skipping lip balm after

The single most damaging omission. Freshly exfoliated lips lose moisture faster than at any other time. Without immediate balm, they become drier than before the scrub. Balm within 60 seconds is not optional — it is half the formula. See our natural lip balm guide for the best plant-based options.

❌ Using coarse sugar

Raw sugar, sea salt or coarse crystals cause micro-tears in lip skin that worsen flaking over time. Fine white sugar, caster sugar or extra-fine ground coffee are the only safe options.

❌ Using it daily

Daily use removes healthy new cells before they are ready and produces chronic rawness. One to two times per week is the maximum — more frequent use worsens flaking, not better.

❌ Scrubbing cracked lips

Any exfoliation on broken or cracked lip skin causes pain and worsens the crack. Apply pure shea butter or oil for 2–3 days first. Resume with Recipe 3 (aloe vera base) as the gentlest re-entry point.

❌ Licking lips after balm

Licking removes the balm and leaves saliva — which evaporates and takes moisture with it, leaving lips drier than before. This habit undermines the entire routine. If you lick habitually, the scrub improves things temporarily but never holds.

❌ Storing with used utensils

Dipping a used finger or spoon introduces bacteria that dramatically shorten shelf life. Always use a clean dry spoon to scoop from a stored jar — every single time.

Frequently Asked Questions

❓ How do you make a DIY lip scrub at home?
Combine 1 teaspoon of fine sugar with 1 teaspoon of honey or coconut oil in a small bowl or the palm of your hand. Mix well. Apply to lips with gentle circular motions for 30 seconds, leave 60 seconds, then lick or rinse off. Apply lip balm immediately. That is the complete base method — add vanilla, lemon, cinnamon, aloe vera or coffee depending on your specific lip concern.
❓ How long does a DIY lip scrub last?
How long a homemade lip scrub lasts depends on the recipe. Sugar + oil + honey: 1 week refrigerated (3–4 days at room temperature). Shea butter base: 2 weeks refrigerated. Aloe vera base: 5 days refrigerated. Recipes with lemon juice or coffee: 2–4 days. Always store in a sealed glass jar, in the fridge, with a clean dry spoon to scoop each time.
❓ What is the best homemade lip scrub recipe?
For most people: 1 tsp fine sugar + ½ tsp honey + ½ tsp coconut oil. The most comfortable, the most immediately effective, suitable for all lip types. For sensitive lips: caster sugar + aloe vera. For dull or pigmented lips: brown sugar + lemon + honey. For severely chapped lips: sugar + shea butter + vanilla. For stained lips: extra-fine coffee + coconut oil.
❓ Is white sugar or brown sugar better for a lip scrub?
Fine white sugar is the gentler all-rounder — smaller uniform granules that dissolve quickly — suitable for regular use on all lip types. A brown sugar lip scrub offers deeper exfoliation and natural molasses conditioning — best for dull or pigmented lips once a week. Never use coarse or raw sugar on lips — the crystal size is too abrasive for such delicate skin.
❓ How often should I use a homemade exfoliator for lips?
One to two times per week maximum. Daily use over-exfoliates and worsens flaking over time — more frequent use is counterproductive. Once a week for maintenance once lips are consistently smooth. Twice a week during winter or dry climates. The cinnamon plumping recipe should not be used more than once a week.
❓ Why do my lips keep flaking even when I use a lip scrub?
The most common reasons: skipping lip balm immediately after scrubbing, scrubbing too often or too hard, using coarse sugar, or licking lips after applying balm. Persistent flaking despite correct technique often points to general dehydration — water intake is frequently the missing variable. See the full mistakes section above for all seven causes.

Complete Your Natural Lip & Skin Routine

📅 Weekly Lip Routine

① EXFOLIATE

🌿 Homemade Lip Scrub

30 sec gentle circular. Leave 60 sec. Lick or rinse. 1–2x per week.

6 recipes above ↑

② NOURISH

💋 Natural Lip Balm

Within 60 seconds of rinsing. Overnight is when freshly exfoliated lips absorb the most.

Natural lip balm guide →

③ FACE ROUTINE

🌿 Aloe Vera Face Mask

Do the lip scrub at the same time as your face mask — same evening, same routine.

Face mask guide →
🔗 Related Natural Routines
🌿 Flaxseed Gel Face Mask

Plant-based face mask with film-forming hydration — a natural complement to the lip scrub routine.

Read guide →
🌿 Natural Skincare Guide

Build a complete plant-based routine — cleanser to lip care — in one place.

Full guide →
🌿 Natural Body Care Guide

The same plant-based approach extended to body care — sugar scrubs work on elbows and heels too.

Full guide →
🌿
Written by Doo & Rita — Nature’s Herbal Remedy

Doo and Rita are the creators of Nature’s Herbal Remedy, a plant-based skincare and wellness blog. The homemade lip scrub was the first DIY beauty formula Rita ever made — at 28, with kitchen ingredients. Three years and six tested recipes later, it remains the simplest and most consistently effective formula in her routine. Every recipe in this guide has been applied to at least one pair of real lips before being written up.
🌿 3+ years personal use 🧪 6 recipes tested 💋 All food-grade ingredients 📅 Last updated: May 2026
📌 Note: All recipes use food-grade ingredients. If you have known allergies to honey, cinnamon, citrus or coffee, check before use. If lip dryness is persistent, severe or accompanied by other changes, consult a qualified dermatologist.

Similar Posts