DIY Lip Scrub: 6 Homemade Recipes, How to Make It & How Long It Lasts
By Doo & Rita – 18 min read – tested on dry, sensitive & pigmented lips – 3+ years personal use
Last updated: May 2026
A DIY lip scrub is the simplest homemade beauty formula there is—two ingredients, two minutes, and lips that feel immediately softer. Rita made her first one at 28 with sugar and honey from her kitchen, on a friend’s recommendation. She woke up the next morning to the smoothest lips she’d had in years. Three years and six tested recipes later, she hasn’t bought a single store-bought lip scrub since.
This is the complete guide: what a homemade lip scrub actually does, why sugar is the best exfoliant for lips (and which type to use), the six tested recipes for every lip concern, how to apply it correctly, and the honest answer to the question we get asked most—how long does a DIY lip scrub last? Everything you need in one place, nothing you don’t.
⬇ JUMP TO SECTION
⚡ QUICK ANSWER
How do you make a DIY lip scrub?
Two ingredients, two minutes, immediate results. Here’s what matters:
not coarse, not icing
coconut, shea or aloe
not aggressive scrubbing
non-negotiable
Fastest start: 1 tsp fine white sugar + 1 tsp honey → gentle circular 30 sec → leave 60 sec → lick or rinse → lip balm immediately. That’s the complete formula.
🔍 DEFINITION — DIY LIP SCRUB
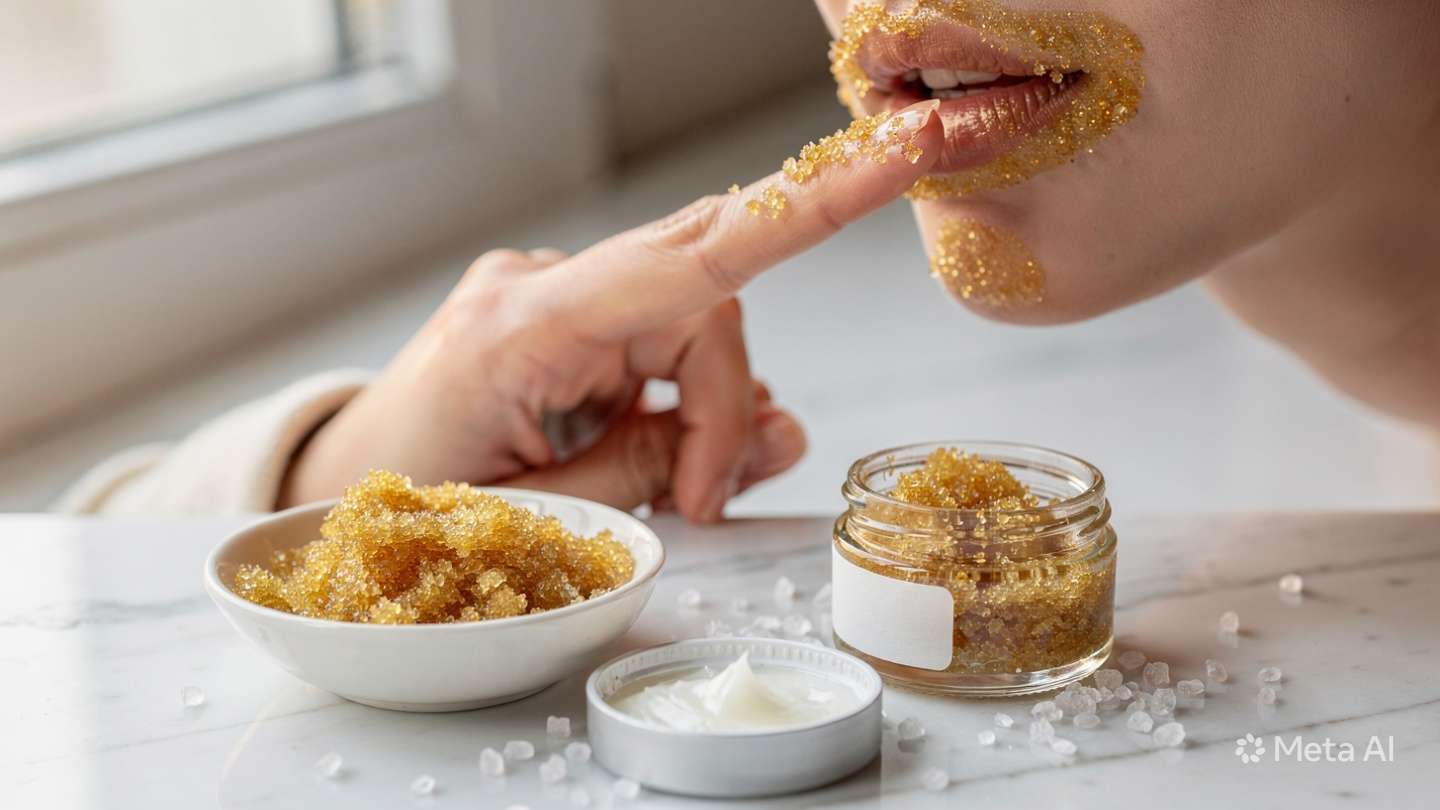
A DIY lip scrub — also called a homemade lip scrub, sugar lip scrub, or homemade exfoliator for lips — is a two-part formula made at home from kitchen ingredients. Part one is the exfoliant: fine sugar, brown sugar, or ground coffee, which physically loosens dead skin cells from the lip surface. Part two is the conditioning base: honey, coconut oil, shea butter or aloe vera gel, which softens and nourishes the freshly exfoliated lip skin simultaneously.
A sugar exfoliating scrub for lips is safe to lick off, costs almost nothing to make, and produces noticeably smoother lips from the very first use. All the recipes in this guide use food-grade ingredients only — the entire formula can be assembled in two minutes from ingredients already in most kitchens.
Key facts: All food-grade ingredients · 2 min to make · 1–2x per week · Always follow with a lip balm · Homemade lip scrubs last 2 days to 2 weeks depending on the recipe.
📋 WHAT’S IN THIS GUIDE
- What a homemade lip scrub actually does — and why lips need it
- White sugar vs brown sugar for lips — which one to use
- All conditioning bases compared — honey, oils, shea, aloe vera
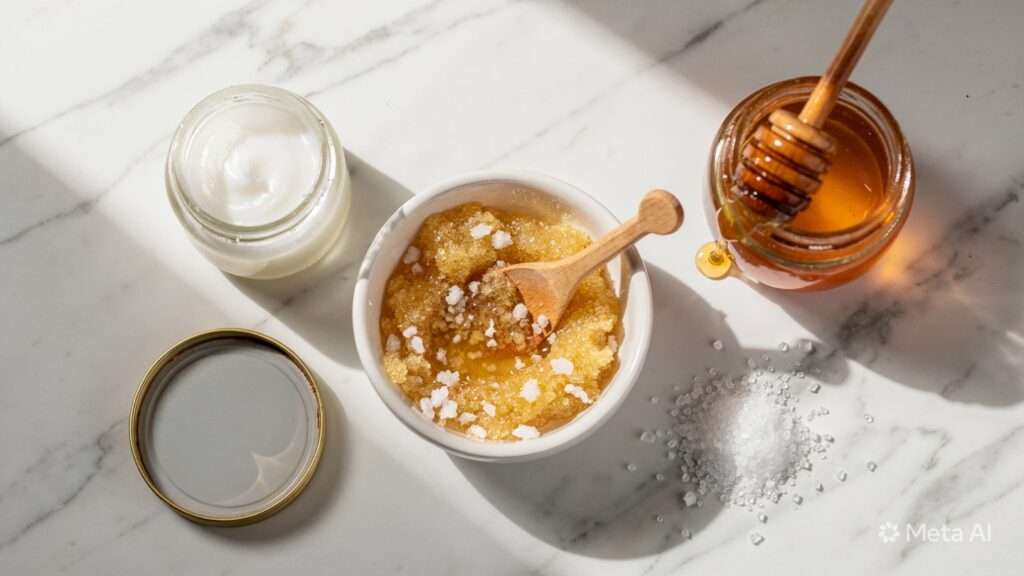
- How to make a DIY lip scrub — the universal base method
- How to use a homemade lip scrub properly
- 6 lip scrub recipes for every lip concern
- How long does a DIY lip scrub last? — complete storage guide
- 7 mistakes that explain why lips keep flaking
- Full cheat sheet at a glance
- Every question we get asked — answered
📋 FULL CHEAT SHEET — DIY LIP SCRUB
| Lip Concern | Best Recipe | Sugar Type | Shelf Life | Frequency |
|---|---|---|---|---|
| Dry / flaky | Sugar + honey + coconut oil | Fine white sugar | 1 week fridge | 2x per week |
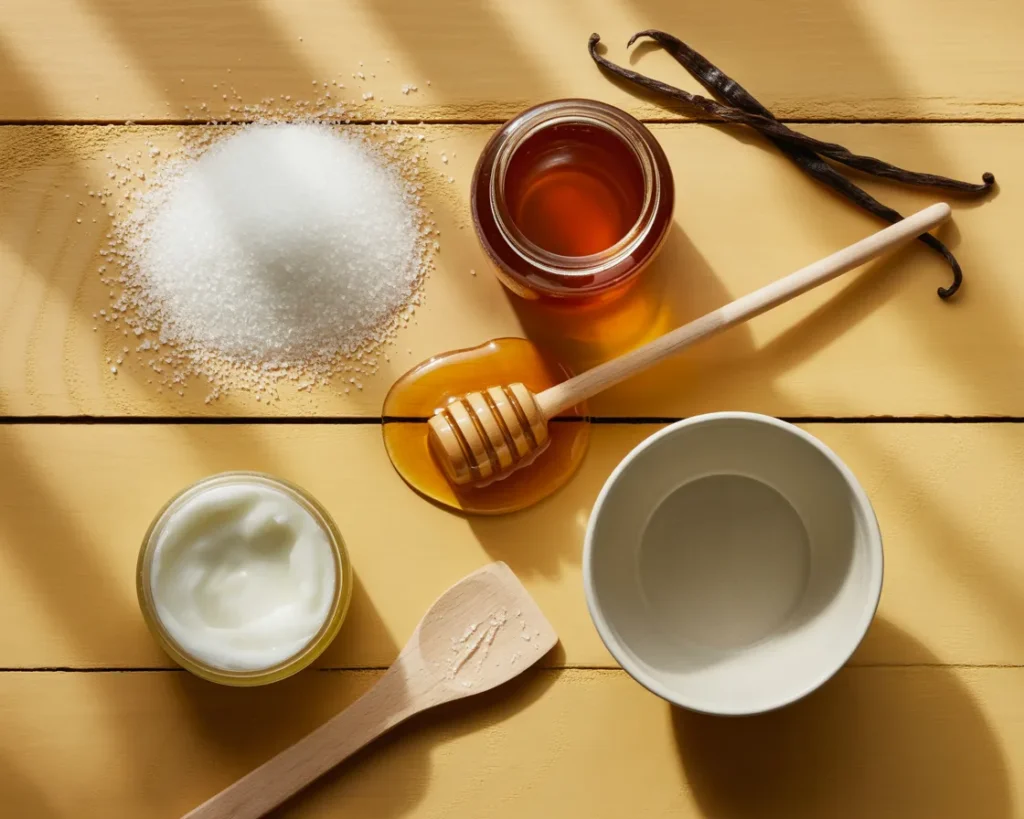
| Dull / pigmented | Brown sugar + lemon + honey | Brown sugar | 2 days fridge | 1x per week |
| Sensitive | Caster sugar + aloe vera | Caster sugar | 5 days fridge | 1x per week |
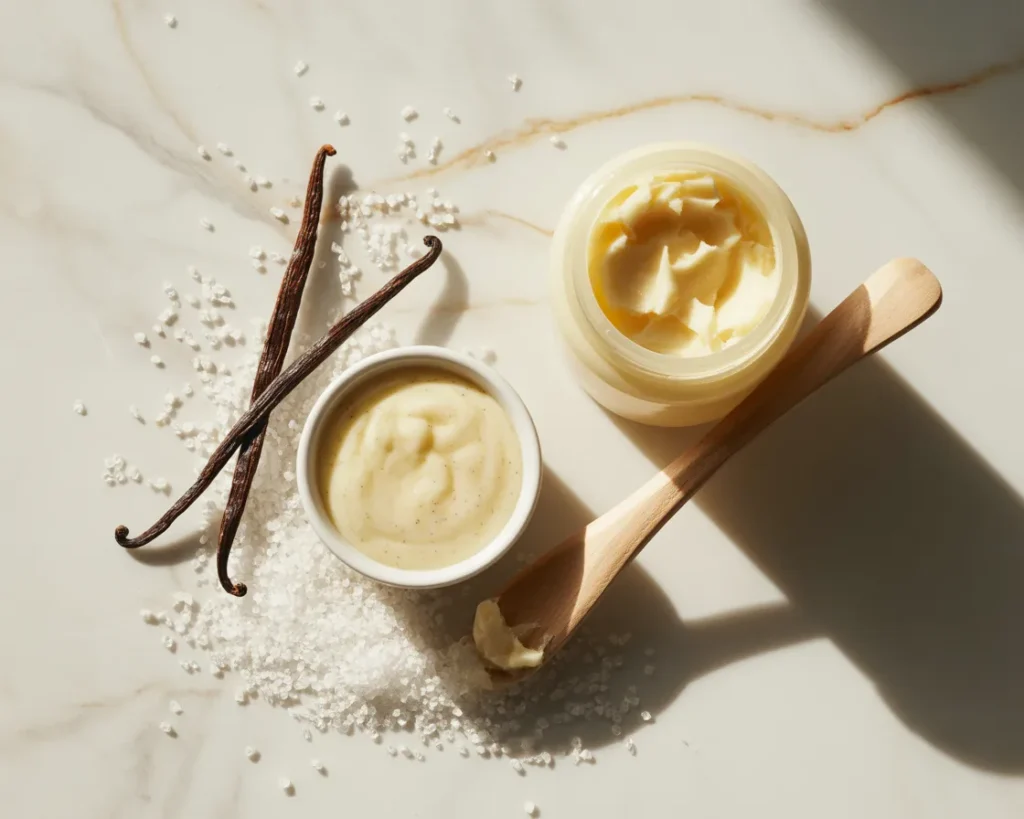
| Chapped / winter | Sugar + shea butter + vanilla | Fine white sugar | 2 weeks fridge | 2x per week |
| Plumping effect | Brown sugar + cinnamon + honey | Brown sugar | 1 week fridge | 1x per week max |
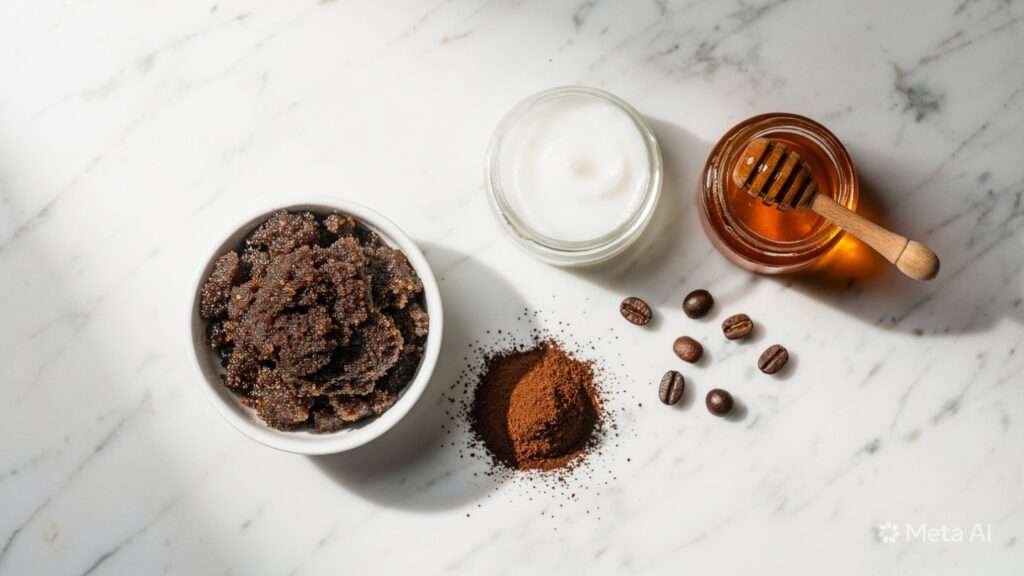
| Dark / stained lips | Coffee + coconut oil + honey | Ground coffee | 3–4 days fridge | 1x per week |
| Maintenance | Sugar + honey only | Fine white sugar | 1 week fridge | 1x per week |
What a DIY Lip Scrub Actually Does—and Why Lips Need It
Lip skin is fundamentally different from the rest of the face—it has no sebaceous glands, no sweat glands, and a much thinner outer layer than facial skin. This means lips produce no natural oil and lose moisture faster than any other area. The result is a familiar cycle: lips dry out, dead cells accumulate on the surface, lip balm gets applied on top of that dead cell layer rather than reaching the living skin beneath, and nothing really improves for long.
A homemade lip scrub breaks that cycle by doing two things simultaneously. The exfoliant—fine sugar, brown sugar, or ground coffee—physically removes the dead cell layer. The conditioning base—honey, coconut oil, shea butter, or aloe vera—softens and nourishes the freshly exposed skin as the scrubbing happens. The result is not just temporarily smoother lips but lips that are actually able to receive and retain moisture from whatever you apply afterwards.
💡 Why lip balm alone is never enough: Without removing the dead cell barrier first, even the best lip balm sits on top of dry skin rather than nourishing the living lip surface beneath. A weekly sugar exfoliating scrub for lips is what allows balm to actually work. For the best natural balm to apply immediately after, see our natural lip balm guide. A complete lip care approach also fits naturally within a broader natural skincare routine.
Lips produce zero natural oil — which is why they dry faster than any other part of the face.
Accumulated dead cells block lip balm from reaching living skin. Exfoliation removes the barrier.
Sugar dissolves on contact with moisture — naturally limiting abrasion, making it the safest kitchen exfoliant for lips.
Exfoliates and conditions simultaneously — the oil or honey base nourishes as the sugar works.
White Sugar vs Brown Sugar for Lips—Which One to Use
Sugar is the best natural exfoliant for lips because it dissolves as it contacts moisture—self-limiting its abrasion and making it inherently safe on delicate lip skin. But not all sugars are equal. The type you choose changes the texture, gentleness, and result of your scrub significantly.
| Sugar Type | Texture | Best For | Verdict |
|---|---|---|---|
| Fine white sugar | Small, uniform — dissolves quickly | All lip types, regular use | ✓ Best all-rounder |
| Brown sugar | Slightly coarser + molasses content | Dull, pigmented or stained lips | ✓ Best for brightening |
| Caster sugar | Very fine — minimal abrasion | Sensitive or reactive lips, beginners | ✓ Gentlest option |
| Ground coffee | Fine but stays solid — more contact | Dark or stained lips (Recipe 6 only) | ~ Use gently, 1x/week |
| Coarse / raw sugar | Large irregular crystals | Body scrubs only — not lips | ✗ Too abrasive for lips |
Conditioning Bases Compared—Honey, Coconut Oil, Shea Butter & Aloe Vera
The conditioning base is the second half of any homemade lip scrub. It determines how nourishing the result is and which lip type the recipe suits. Here is an honest comparison of the four main options.
🍯 Honey
Acts as both a humectant (draws moisture from the air) and a conditioning agent. The most versatile base. Raw honey retains more active compounds than processed honey. Safe to lick off. Best for: all lip types, general use, beginners.
Shelf life: 1 week fridge
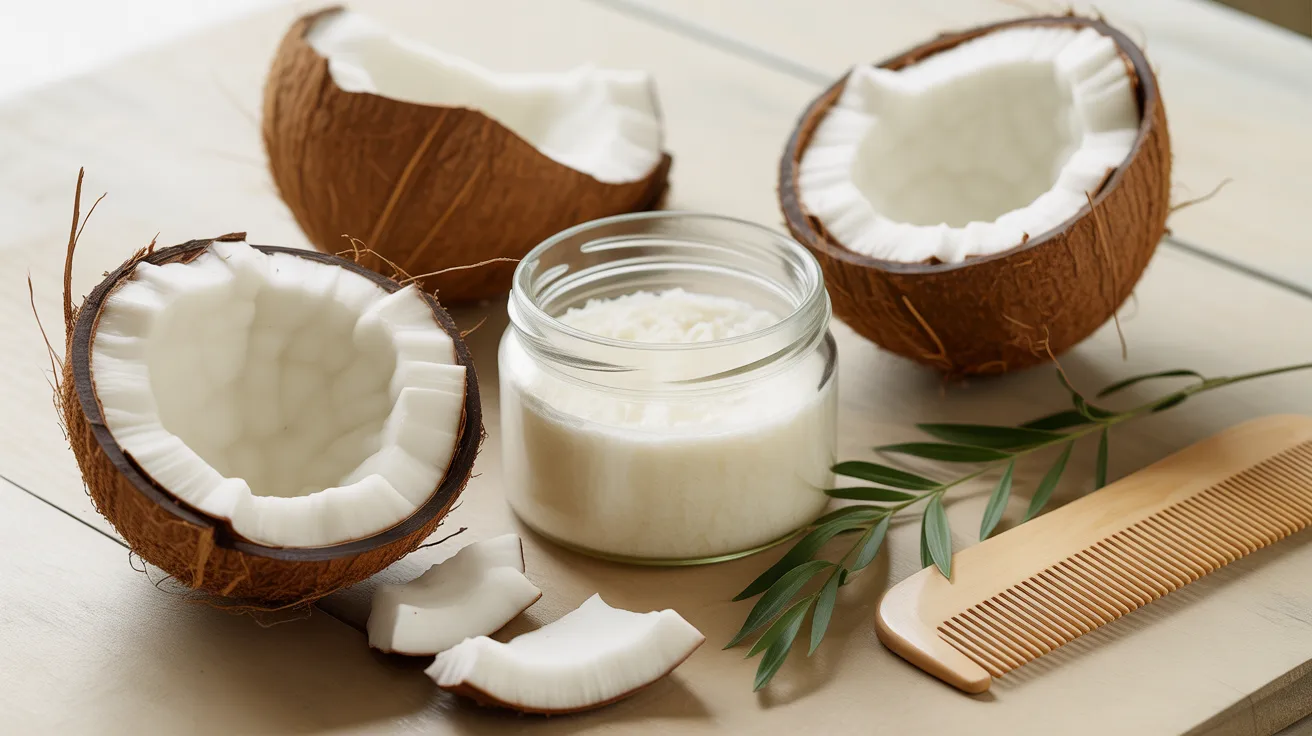
🥥 Coconut Oil
Rich, deeply conditioning — softens lip skin noticeably on contact. Virgin coconut oil has a natural sweet scent that works well in lip formulas. Melt between fingertips before using. Safe to lick. Best for: dry, flaky or cracked lips.
Shelf life: 2–3 weeks fridge
🧈 Shea Butter
The richest base — high fatty acid content creates the deepest conditioning effect of all four options. The best choice for severely chapped or winter-stressed lips. Also the longest shelf life. Best for: severely chapped, cracked, winter lips.
Shelf life: 2 weeks fridge
🌿 Aloe Vera Gel
The gentlest base — calming, no fragrance, no stickiness. The same 99%+ gel used in the aloe vera face mask routine works directly here. For honey-intolerant lips. Best for: sensitive or reactive lips.
Shelf life: 5 days fridge
How to Make a DIY Lip Scrub — The Universal Base Method
This method applies to all six recipes below. The ratio, technique, and timing are the same regardless of which sugar and base you choose. Learn it once, and every recipe becomes a two-minute routine.
How to Use a Homemade Lip Scrub Properly
6 Lip Scrub Recipes — One for Every Concern
All six recipes use food-grade kitchen ingredients. Quantities make 1–3 uses. Double everything and store in a sealed jar for a week’s supply—see the shelf life guide below for storage timings per recipe.
Recipe 1—Classic Sugar, Honey & Coconut Oil (Dry & Flaky Lips) ⭐
Recipe 2 — Brown Sugar, Lemon & Honey (Dull & Pigmented Lips)
Recipe 3 — Caster Sugar & Aloe Vera (Sensitive Lips)
Recipe 4—Sugar, Shea Butter & Vanilla (Chapped & Winter Lips)
Recipe 5 — Brown Sugar, Cinnamon & Honey (Plumping Effect)
Recipe 6 — Ground Coffee, Coconut Oil & Honey (Dark & Stained Lips) ☕
How Long Does a DIY Lip Scrub Last? — Complete Storage Guide
This is the question we get asked most. The answer varies significantly by recipe — the key variables are whether the recipe contains fresh citrus juice, aloe vera or coffee; whether it’s stored in the fridge; and whether it’s kept in a sealed jar with clean utensils.
- Always store in a sealed glass jar — never open containers
- Always scoop with a clean dry spoon — never dip a used finger into the jar
- Discard immediately if it smells off, changes colour or develops a film
- Label with the date made — a small piece of tape takes 5 seconds
- When in doubt, make fresh — all recipes take under 2 minutes
7 Mistakes That Explain Why Lips Keep Flaking
❌ Scrubbing too hard
The most common mistake. Aggressive scrubbing creates micro-tears in lip skin that cause rawness and post-scrub dryness. Barely-touching pressure is correct. The sugar does the work, not the force.
❌ Skipping lip balm after
The single most damaging omission. Freshly exfoliated lips lose moisture faster than at any other time. Without immediate balm, they become drier than before the scrub. Balm within 60 seconds is not optional — it is half the formula. See our natural lip balm guide for the best plant-based options.
❌ Using coarse sugar
Raw sugar, sea salt or coarse crystals cause micro-tears in lip skin that worsen flaking over time. Fine white sugar, caster sugar or extra-fine ground coffee are the only safe options.
❌ Using it daily
Daily use removes healthy new cells before they are ready and produces chronic rawness. One to two times per week is the maximum — more frequent use worsens flaking, not better.
❌ Scrubbing cracked lips
Any exfoliation on broken or cracked lip skin causes pain and worsens the crack. Apply pure shea butter or oil for 2–3 days first. Resume with Recipe 3 (aloe vera base) as the gentlest re-entry point.
❌ Licking lips after balm
Licking removes the balm and leaves saliva — which evaporates and takes moisture with it, leaving lips drier than before. This habit undermines the entire routine. If you lick habitually, the scrub improves things temporarily but never holds.
❌ Storing with used utensils
Dipping a used finger or spoon introduces bacteria that dramatically shorten shelf life. Always use a clean dry spoon to scoop from a stored jar — every single time.
Frequently Asked Questions
Complete Your Natural Lip & Skin Routine
Doo and Rita are the creators of Nature’s Herbal Remedy, a plant-based skincare and wellness blog. The homemade lip scrub was the first DIY beauty formula Rita ever made — at 28, with kitchen ingredients. Three years and six tested recipes later, it remains the simplest and most consistently effective formula in her routine. Every recipe in this guide has been applied to at least one pair of real lips before being written up.