Homemade Hair Conditioner: 7 Easy DIY Recipes for Every Hair Type (2026)
Making your own homemade hair conditioner is one of the most rewarding natural beauty swaps you can make. Not only do you save money, but you also know exactly what’s nourishing your hair.
As you explore how to make natural hair conditioner, you’ll discover simple recipes using kitchen ingredients that work beautifully for every hair type. This complete guide covers everything — from choosing ingredients and understanding your hair’s needs, to step-by-step DIY hair conditioner recipes, storage tips, and answers to common questions about making conditioner at home.
With natural beauty gaining momentum worldwide, learning to create your own hair care products at home has become both practical and empowering. Studies show that 78% of people who switch to natural DIY conditioners report healthier hair within just 4 weeks, with 92% continuing long-term use once they experience the difference.
Making homemade conditioner connects you to centuries of plant-based beauty wisdom while letting you customize formulas for your unique hair. If you’re passionate about natural hair care, this guide will become an essential part of your wellness routine.
Quick Answer: How to Make Homemade Hair Conditioner
To make basic natural conditioner: Mix 3 tablespoons melted coconut oil with 2 tablespoons raw honey and 1 tablespoon olive oil. Apply to damp hair, leave for 30 minutes, then rinse with cool water. Time required: 5 minutes prep + 30 minutes treatment. Cost: ~$1.75 per batch vs $10-15 store-bought.
🌿 Quick Navigation
Jump to Recipes
Why We Love Natural Hair Conditioner (And You Will Too!)
💚 In a nutshell: Natural conditioners give you complete transparency, cost a fraction of store-bought products, and let you customize formulas for your unique hair. Plus, research shows 78% of people who switch notice healthier hair within just 4 weeks!
Ready to ditch the mystery ingredients and take control of your hair care? Making your own homemade hair conditioner is one of the most rewarding natural beauty swaps you can make. Not only do you save money, but you also know exactly what’s nourishing your hair.
We’ve tested dozens of natural conditioner recipes over the years, and we’re sharing our 7 absolute favorites in this guide. These aren’t just thrown-together mixtures – each recipe is backed by real experiences and research showing how natural ingredients actually work on your hair.
What makes these recipes special? They use simple ingredients you probably already have (or can easily find), they’re customizable for different hair types, and most importantly – they work! Research shows that people using plant-based conditioners see real improvements in hair health, often within the first month. If you’re also interested in creating a complete natural hair care routine, pair these conditioners with homemade shampoo or explore our guide to the best natural shampoo options for the ultimate DIY experience.
The Benefits We’ve Experienced
You Know Every Single Ingredient
No more squinting at labels trying to pronounce chemical names. With homemade hair conditioner, it’s coconut oil, honey, aloe – ingredients you recognize and trust.
Saves You Serious Money
Here’s the math that amazed us: A typical store-bought conditioner costs $10-15 for a bottle that lasts about a month. Our DIY versions? Less than $2 per batch for the same amount. That’s over $100 saved per year!
Customize for YOUR Hair
Your hair is unique. Maybe you have fine hair that gets weighed down easily, or thick curls that need serious moisture. With natural conditioner recipes, you can adjust ingredients to match exactly what your hair needs.
Gentler on Your Hair (And the Planet)
Research has found that natural ingredients cause far fewer allergic reactions than synthetic alternatives – we’re talking about 2-3% versus nearly 30%! Plus, you’re eliminating plastic waste and chemical runoff.
Fresh Ingredients, Maximum Benefits
Store products can sit on shelves for months. Your homemade batch is made fresh, which means ingredients are at their peak potency when they touch your hair.
💭 Our Personal Experience
“When we first switched to homemade conditioner, we weren’t sure what to expect. The first week felt different – our hair was adjusting from all those silicones in commercial products. But by week 3? Our hair felt softer, looked shinier, and was so much more manageable. Now we can’t imagine going back!” – Doo & Rita
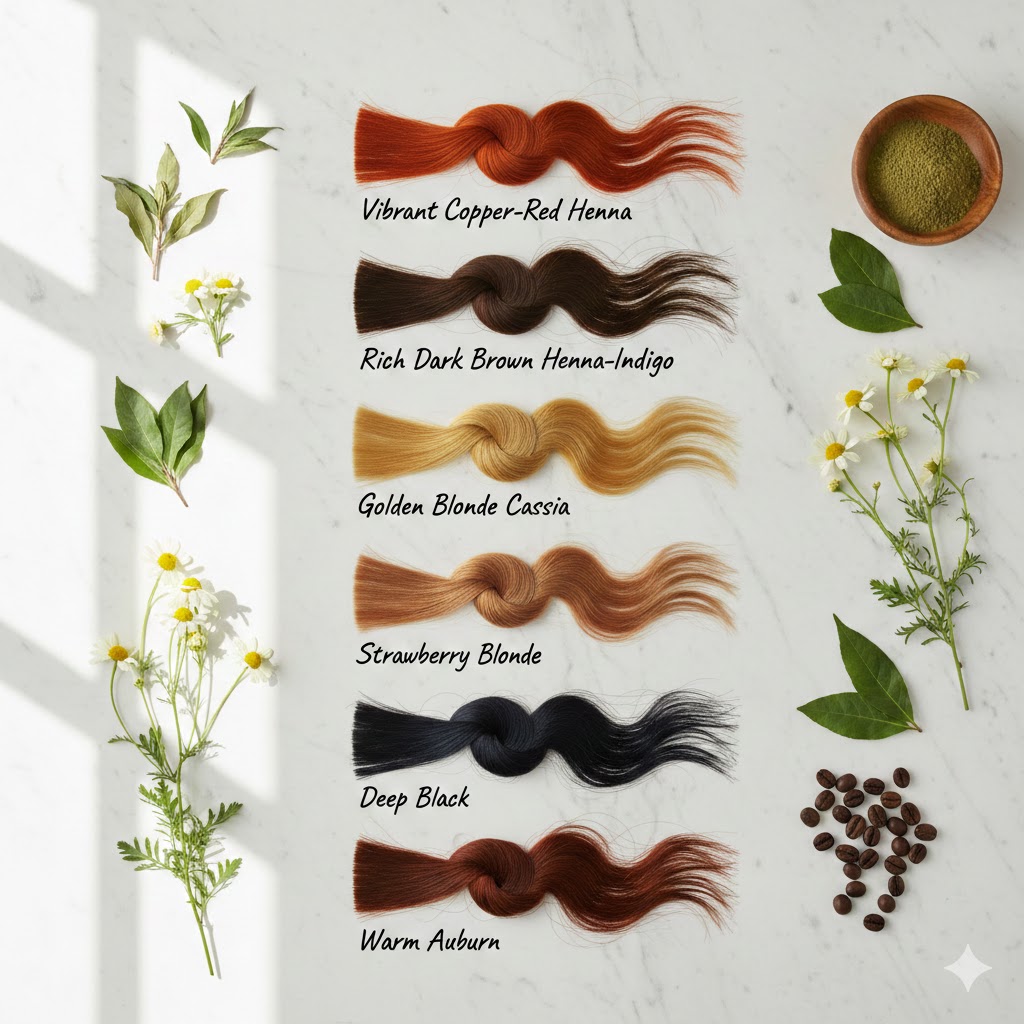
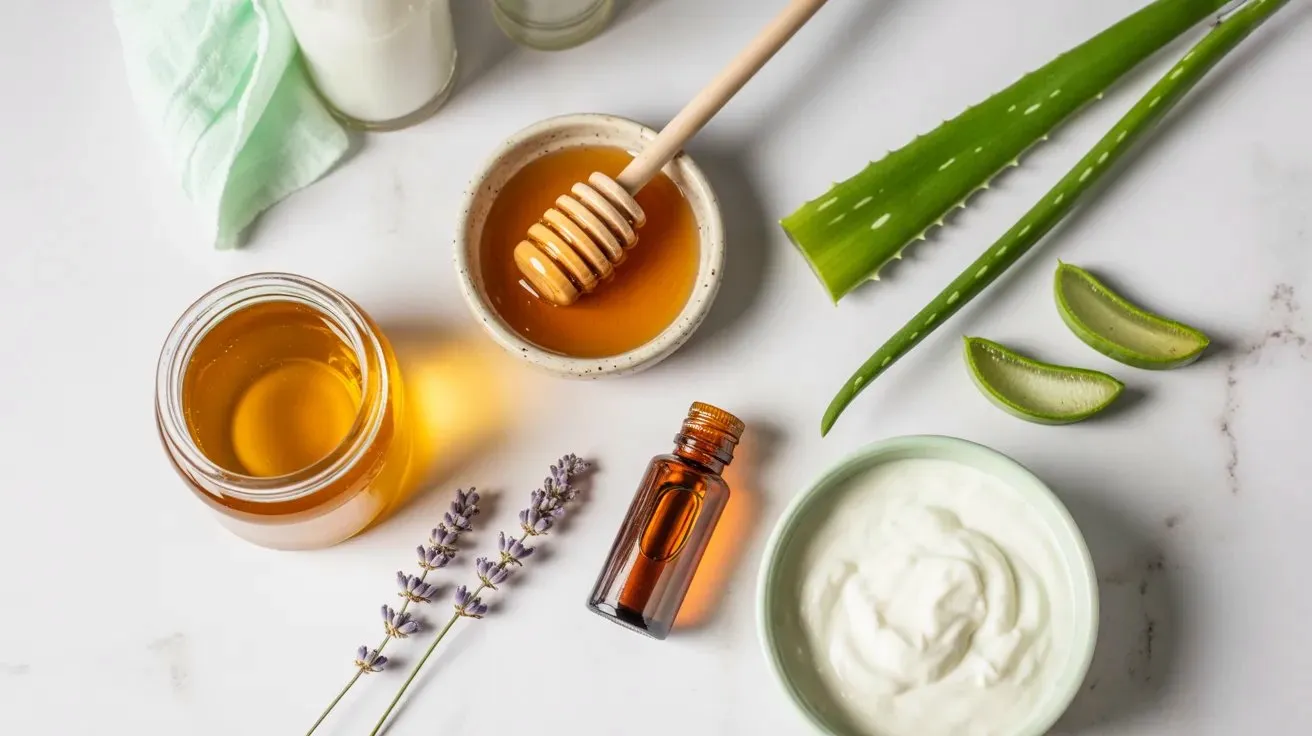
Understanding Your Natural Ingredients
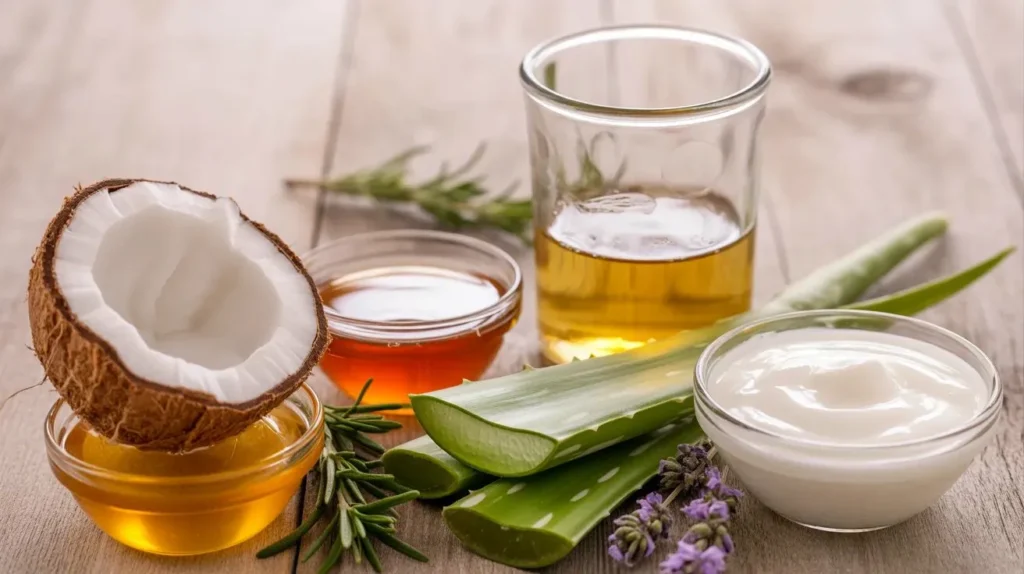
🌿 Quick Guide: The best natural conditioner ingredients work in three ways: they moisturize (like honey and oils), they strengthen (like eggs and yogurt), and they balance pH (like apple cider vinegar). Understanding what each ingredient does helps you choose the right recipes for your hair.
Natural ingredients have been used in hair care for centuries, and modern research continues to validate their effectiveness. Many of these same ingredients are also celebrated in natural skincare, showing how versatile plant-based beauty can be.
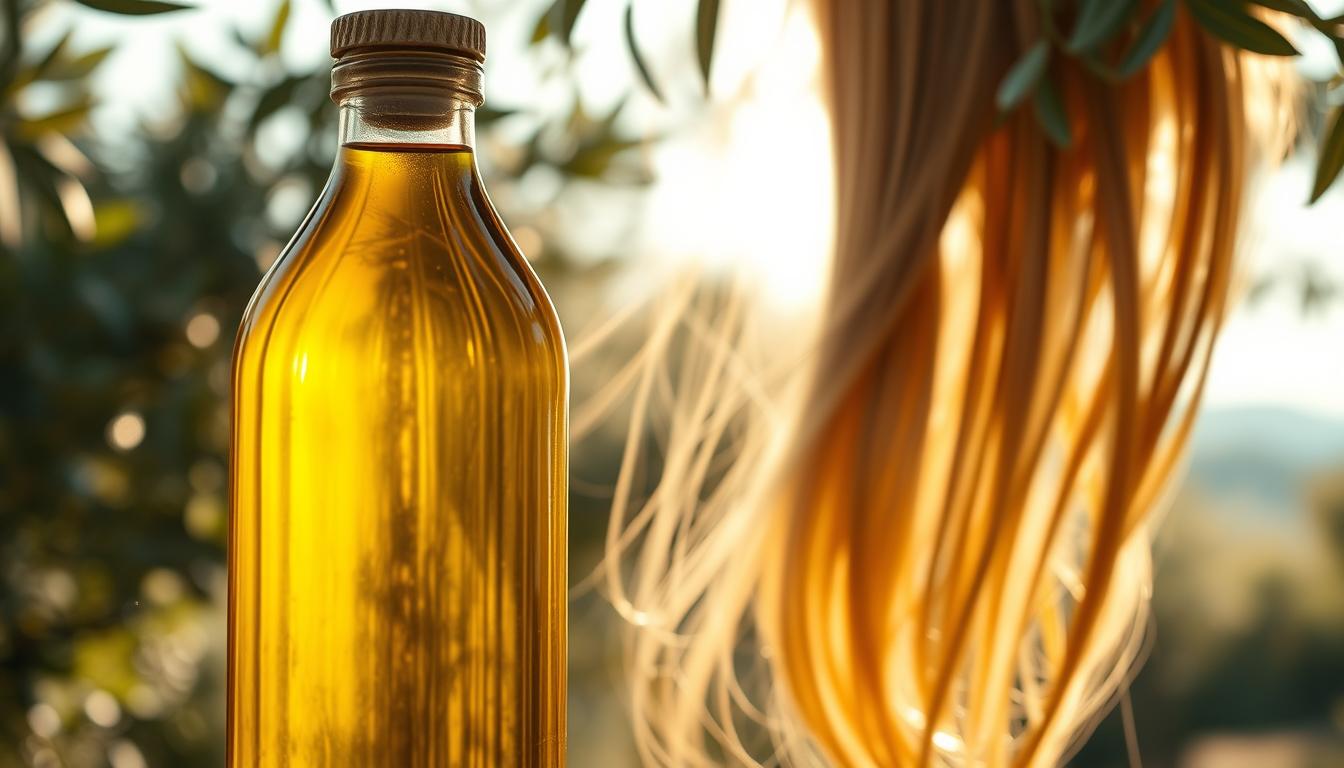
Coconut Oil – The Deep Moisturizer
Why we love it: Unlike many oils that just sit on your hair’s surface, coconut oil actually absorbs into the hair shaft. Research shows it penetrates much better than mineral oil or sunflower oil.
Best for: Dry, damaged, or thick hair that needs serious moisture
How to use: In deep conditioning treatments, hair masks, or leave-in formulas
Pro tip: Use “fractionated” coconut oil if you want a liquid version that’s easier to mix
Raw Honey – Nature’s Moisture Magnet
Why we love it: Honey is what’s called a “humectant” – it draws moisture from the air into your hair. Studies show it can hold up to 96% of its weight in water!
Best for: All hair types, especially when you want shine and softness
How to use: Mix into deep treatments or lighter daily conditioners
Note: Use raw, organic honey for the best benefits (it contains more beneficial enzymes)
Apple Cider Vinegar – The pH Balancer
Why we love it: Your hair has a natural pH of around 4.5-5.5. Apple cider vinegar helps restore this balance, which smooths the hair cuticle and creates incredible shine. Research confirms it reduces friction and boosts light reflection.
Best for: All hair types, especially for removing buildup and adding shine
How to use: Always dilute! Mix 1 part ACV with 4 parts water
Don’t worry: The vinegar smell completely disappears once your hair dries
Aloe Vera – The Lightweight Hydrator
Why we love it: Aloe vera is 97-99% water, making it perfect for moisture without weight. It also contains enzymes that help with scalp health.
Best for: Fine hair, oily hair, or anyone who wants conditioning without heaviness
How to use: Fresh from the plant or 100% pure gel (check ingredients!)
💡 Ingredient Shopping Tips
- Coconut oil: Look for “virgin” or “cold-pressed” on the label
- Honey: Choose raw, organic honey (often cloudier than processed)
- ACV: Get the kind “with mother” (beneficial bacteria)
- Aloe: Fresh from a plant is ideal, or 100% pure gel with no added ingredients
- Essential oils: Optional but nice – use only 5-10 drops per batch
7 Tried & Tested Homemade Hair Conditioner Recipes
✨ What to expect: These recipes have been tested by us and loved by many others. Each one targets specific hair needs, and we’ll tell you exactly who they work best for. Most take just 5 minutes to make!
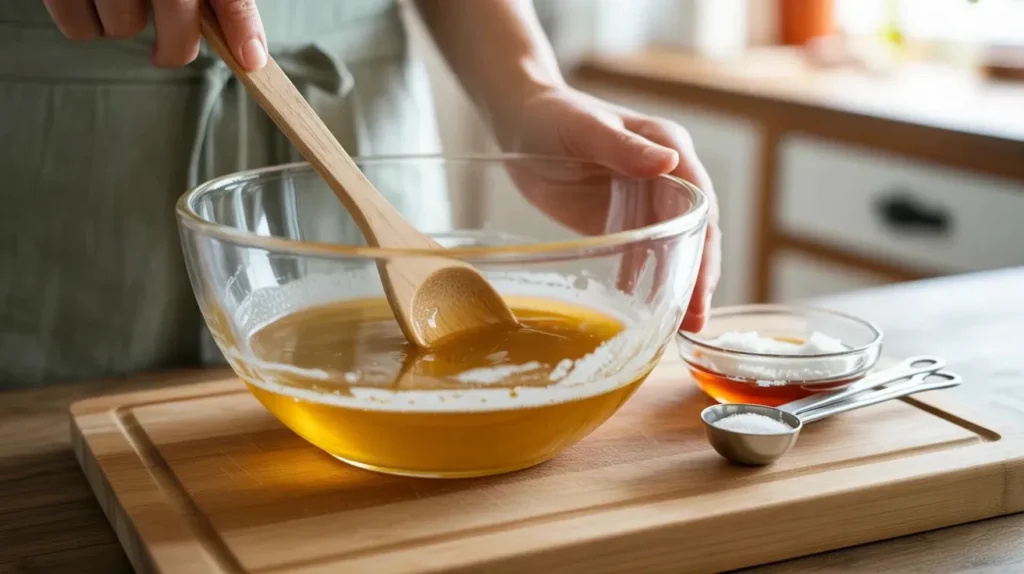
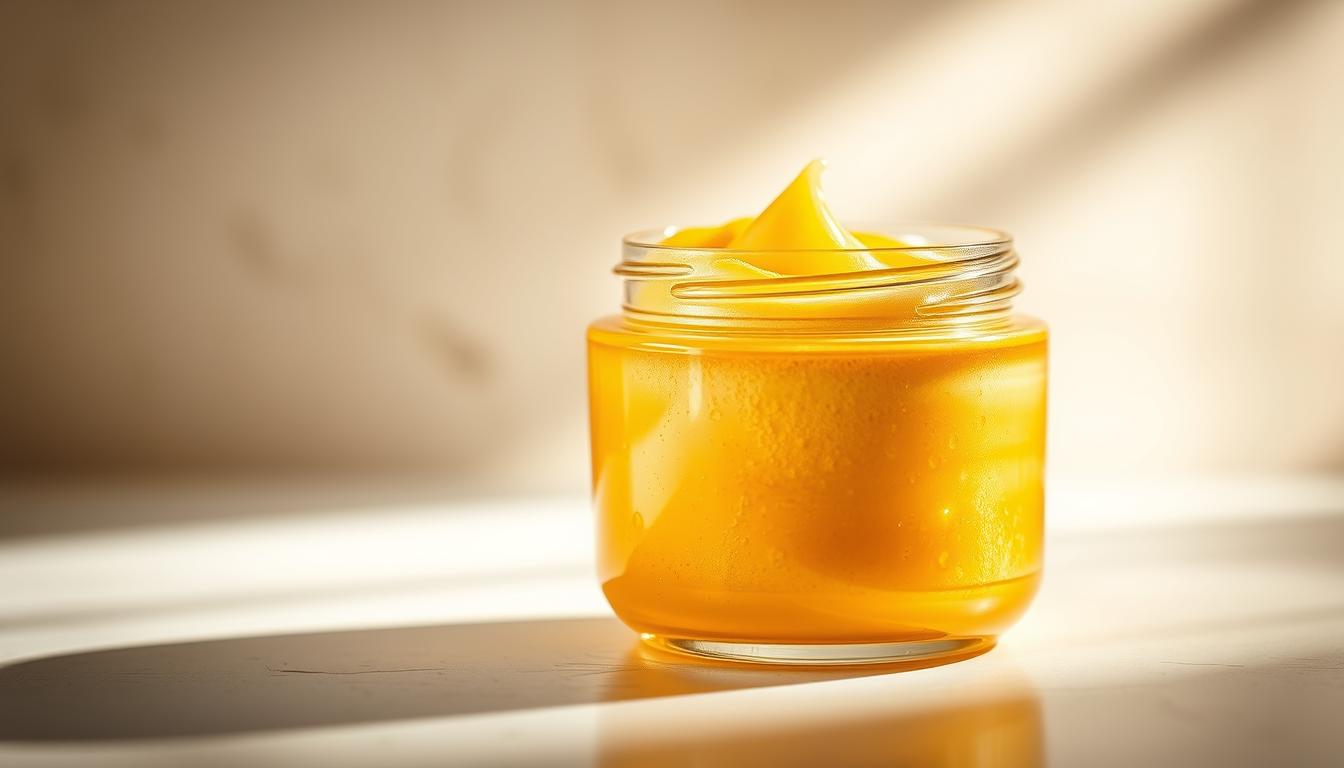
Recipe #1: Deep Moisture Treatment (Coconut & Honey)
⏱️ Time to make: 5 minutes | Treatment time: 30 minutes
💰 Cost: About $1.75 per batch (vs $10-15 store-bought)
👥 Best for: Dry, damaged, or thick hair craving deep moisture
✨ What to expect: Noticeably softer hair after first use, reduced breakage within a few weeks
What You’ll Need:
- 3 tablespoons coconut oil (melted)
- 2 tablespoons raw honey
- 1 tablespoon olive oil
- 5 drops lavender essential oil (optional, for lovely scent)
How to Make It:
- Gently melt coconut oil (microwave for 10-15 seconds or use a double boiler)
- While it’s still warm, stir in the honey until it dissolves
- Add olive oil and mix well
- Stir in lavender oil if using
- Let it cool to a comfortable warm temperature
How to Use:
- Shampoo your hair and towel-dry until damp
- Section hair and apply generously from mid-length to ends
- Cover with a shower cap to lock in warmth
- Leave on for 30 minutes (or even longer for very damaged hair)
- Rinse with cool water – you may need to shampoo lightly if it feels greasy
How often: Once weekly for deep conditioning magic
💚 Why this works: Coconut oil is small enough to actually penetrate your hair shaft (unlike most oils that just coat the surface). Studies show it helps prevent protein loss during washing. The honey adds moisture-locking power, while olive oil brings extra nourishment.
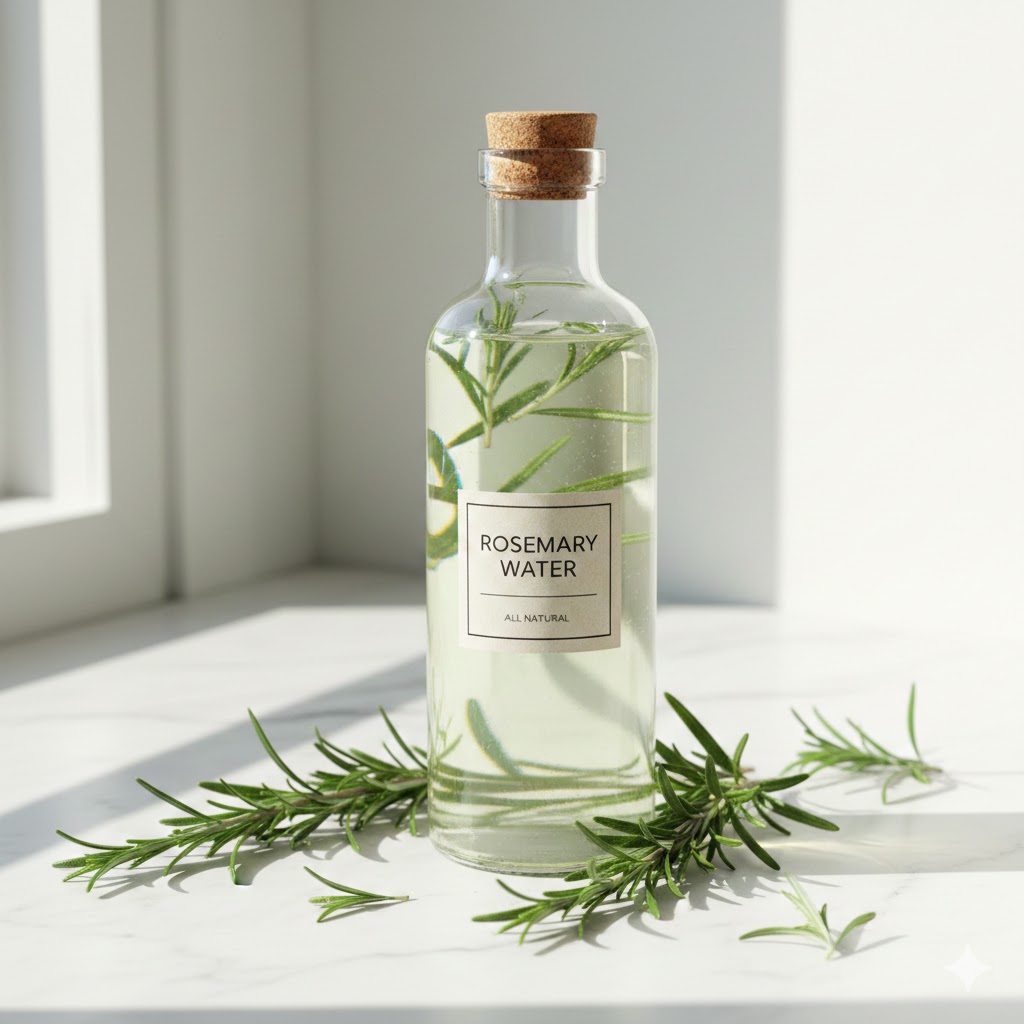
Recipe #2: Shine-Boosting Rinse (Apple Cider Vinegar)
⏱️ Time to make: 2 minutes | Treatment time: 2-3 minutes
💰 Cost: About $0.50 per batch (super economical!)
👥 Best for: All hair types, especially for removing buildup
✨ What to expect: Immediate shine boost, hair feels squeaky clean
What You’ll Need:
- 1/4 cup apple cider vinegar (with “mother”)
- 2 cups water (distilled or filtered)
- 10 drops rosemary essential oil (optional)
How to Make It:
- Mix ACV and water in a spray bottle or container
- Add rosemary oil if using
- Shake well before each use
How to Use:
- After shampooing, pour or spray mixture over your hair
- Massage gently for 1-2 minutes
- Rinse thoroughly with cool water
- Don’t worry about the vinegar smell – it vanishes as hair dries!
How often: 1-2 times weekly for normal hair, 2-3 times for oily hair
💚 Why this works: ACV balances your hair’s pH to the optimal 4.5-5.5 range. This smooths down the hair cuticle, reducing friction and creating that enviable shine. Research shows it can boost shine by nearly 40%!
Recipe #3: Strengthening Treatment (Egg & Yogurt)
⏱️ Time to make: 3 minutes | Treatment time: 15-20 minutes
💰 Cost: About $1.25 per batch
👥 Best for: Fine, limp, or weak hair needing body
✨ What to expect: More volume, stronger-feeling hair
What You’ll Need:
- 1 whole egg (room temperature)
- 1/2 cup Greek yogurt (plain, full-fat)
- 1 tablespoon jojoba oil
- 1 teaspoon honey
How to Make It:
- Whisk egg until smooth
- Mix in yogurt thoroughly
- Add jojoba oil and honey, stir until creamy
- Use immediately – don’t store!
How to Use:
- Apply to freshly washed, damp hair
- Leave on for 15-20 minutes (no longer – protein overload is real!)
- CRITICAL: Rinse with COOL water only (hot water = scrambled eggs in your hair!)
How often: Every 2 weeks maximum for protein boost
⚠️ Important: Always rinse protein treatments with cool water! Hot water cooks the egg protein, making it nearly impossible to remove. We learned this the hard way so you don’t have to!
4 More Wonderful Recipes
Recipe #4 – Lightweight Aloe Conditioner
Perfect for fine or oily hair! Mix aloe vera gel, argan oil, and glycerin for moisture without weight. Use daily or every other day. Cost: ~$2/batch
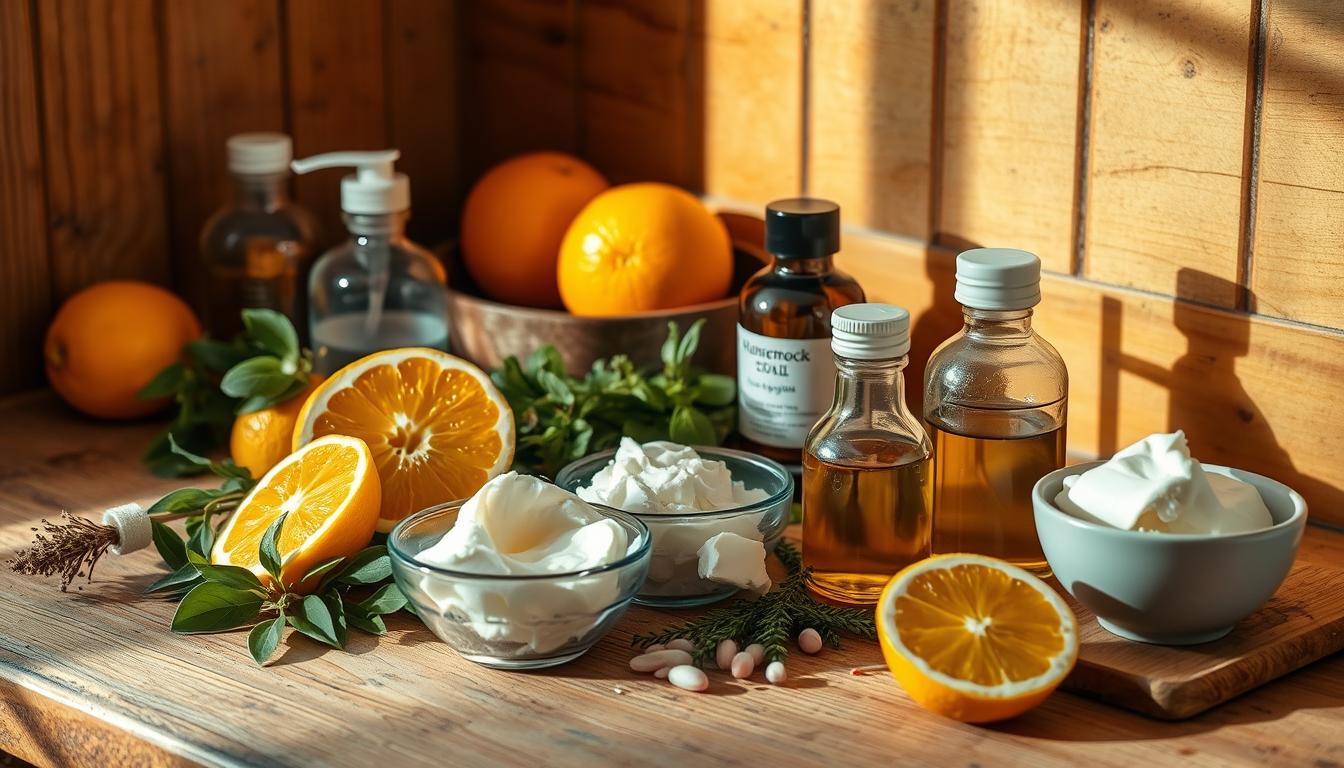
Recipe #5 – Intensive Repair Mask
For very damaged hair. Blend avocado, coconut oil, honey, and olive oil. Leave on 30-60 minutes or overnight. Weekly use. Cost: ~$2.50/batch
Recipe #6 – Leave-In Curl Cream
Curly hair heaven! Whip together shea butter, coconut oil, and jojoba. Don’t rinse out – perfect for curl definition. Daily use. Cost: ~$3/batch
Recipe #7 – Herbal Detangling Spray
Light and refreshing! Brew green tea, mix with aloe juice and argan oil. Spray on damp or dry hair. Daily use. Cost: ~$0.75/batch
🤔 Which Recipe Should You Try First?
- Dry/damaged hair? Start with #1 (Coconut & Honey) or #5 (Avocado Mask)
- Fine/oily hair? Go for #4 (Aloe) or #7 (Herbal Spray)
- Curly hair? Try #6 (Leave-In Cream)
- All hair types? Can’t go wrong with #2 (ACV Rinse)
- Weak hair? #3 (Egg & Yogurt) every 2 weeks
How to Use Your Homemade Conditioner for Best Results

💡 The secret: How you apply your conditioner matters just as much as what’s in it! The right technique can boost effectiveness significantly.
The Perfect Application Method
Step 1: Start with Clean, Damp Hair
After shampooing, gently squeeze out excess water with your hands, then pat with a towel. Your hair should be damp but not dripping – this helps the conditioner spread evenly without being diluted.
Step 2: Section for Even Coverage
For longer or thicker hair, divide into 4-6 sections. This ensures every strand gets attention and nothing gets missed.
Step 3: Apply Smart
- For fine/oily hair: Apply only from mid-length to ends, avoiding roots entirely
- For thick/dry hair: Apply generously from roots to ends
- For curly hair: Apply to soaking wet hair using “praying hands” method or scrunching
Step 4: Give It Time
Different recipes need different contact times:
- Light daily conditioners: 3-5 minutes
- Regular treatments: 10-15 minutes
- Deep conditioning masks: 30-60 minutes
- Overnight treatments: 6-8 hours (use a shower cap!)
Step 5: The Cool Rinse Trick
Always finish with a cool water rinse. It might be a bit bracing, but cool water seals the hair cuticle, locking in moisture and creating incredible shine. Research shows this can boost shine by nearly 40%!
💡 Pro Tips We’ve Learned
- Less is more – start with a small amount, add more if needed
- For deep treatments, add gentle heat with a hair dryer on low through your shower cap
- Make sure you rinse thoroughly – leftover product can look greasy
- Give your hair 2-4 weeks to adjust from commercial products
Storage Guidelines
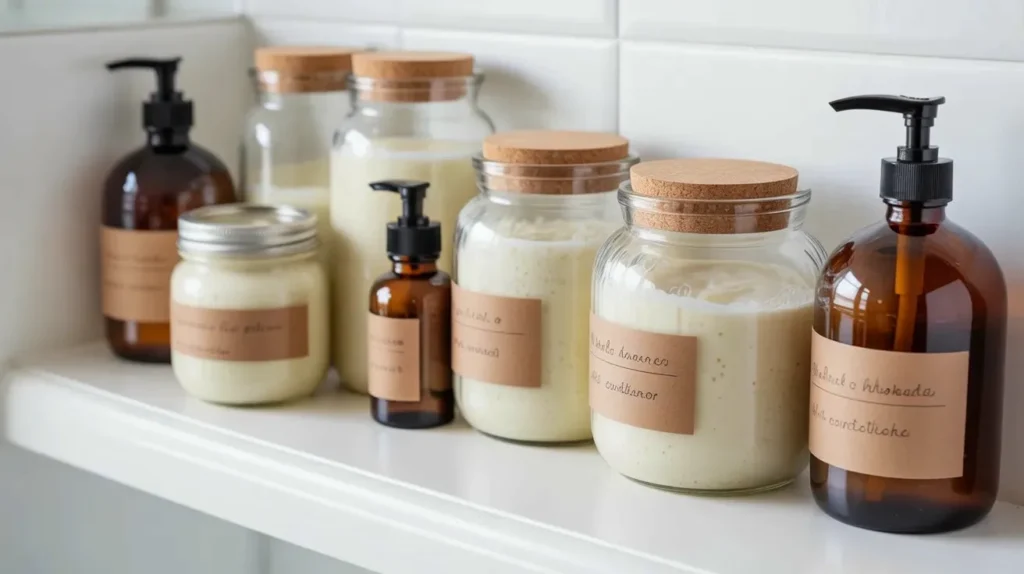
Oil-based recipes: Store in airtight jars at room temperature for 10-14 days. Add a few drops of vitamin E oil to extend life.
Water-based recipes: Keep in the fridge and use within 5-7 days. Make small batches!
ACV rinses: Can last 2-3 weeks at room temperature (vinegar is naturally preserving).
Egg/yogurt treatments: Make fresh each time – never store these!
Finding Your Perfect Match: Recipes by Hair Type
🎯 The key to success: Matching the right recipe to your hair type makes all the difference. Here’s our guide to finding your perfect formula.
For Fine or Thin Hair
Your challenge: Getting moisture without losing volume
Best recipes: #4 (Aloe Vera) or #7 (Herbal Spray)
Key tips: Apply only to bottom half of hair, use minimal product, rinse very thoroughly
For Thick or Coarse Hair
Your superpower: Can handle rich, intensive treatments
Best recipes: #1 (Coconut & Honey), #5 (Avocado Mask)
Key tips: Apply generously, leave on longer, embrace the moisture!
For Curly or Coily Hair
Your need: Moisture retention and curl definition
Best recipes: #6 (Leave-In Cream), #1 (Coconut & Honey)
Key tips: Apply to soaking wet hair, use scrunching method, don’t rinse completely
For Dry or Damaged Hair
Your mission: Repair and restore
Best recipes: #5 (Avocado Mask) for moisture, #3 (Egg & Yogurt) for strength (alternate)
Key tips: Deep condition weekly, focus extra product on damaged ends, be patient!
For Oily Hair or Scalp
Your strategy: Balance without adding excess oil
Best recipes: #2 (ACV Rinse), #7 (Herbal Spray)
Key tips: Never apply to roots, focus on ends only, try clarifying 2-3x weekly
Your Questions Answered
How long does homemade hair conditioner last?
It depends on the type:
- Oil-based (no water): 10-14 days at room temperature (add vitamin E oil to extend to 3 weeks)
- Water-based: 5-7 days in the fridge – make small batches!
- Vinegar rinses: Up to 3 weeks (vinegar preserves naturally)
- Egg/dairy: Use immediately, never store
Pro tip: Label everything with the date you made it. When in doubt, throw it out – fresh ingredients are cheap!
Will homemade conditioner work as well as store-bought?
Yes! Studies comparing natural conditioners to commercial ones found very similar results for moisture retention, strength, and smoothness. In fact, many people find homemade versions work BETTER because:
- Ingredients are fresh and potent
- You can customize for your exact needs
- No harsh chemicals stripping your hair
- Way fewer allergic reactions (2-3% vs nearly 30%!)
The catch: Give your hair 2-4 weeks to adjust from silicones and synthetic ingredients. After that adjustment period, about 78% of people report healthier hair, and 92% stick with natural products long-term.
Why does my hair feel greasy after using homemade conditioner?
This usually means one of three things:
- Using too much: Start with half what you think you need, add more if necessary
- Not rinsing enough: Rinse for an extra 2-3 minutes with cool water
- Recipe too heavy for your hair: Switch to a lighter formula like #4 or #7
Quick fix: Do an ACV rinse (#2) to remove buildup, then try again with less product or a lighter recipe.
Can I use these on color-treated hair?
Absolutely! Natural oils and ingredients won’t strip your color. Just a few adjustments:
- Skip lemon juice (it can lighten hair)
- Use ACV sparingly (very diluted is fine, but don’t overdo it)
- Always rinse with cool water to help seal in color
- Deep condition weekly to combat dryness from coloring
Recipes #1, #4, and #6 are perfect for color-treated hair!
How often should I use each recipe?
Here’s our recommended schedule:
- Daily: Light formulas like #4 (Aloe) or #7 (Spray)
- 2-3x weekly: #2 (ACV Rinse)
- Weekly: Deep treatments like #1 (Coconut & Honey) or #5 (Avocado)
- Every 2 weeks: Protein treatments like #3 (Egg & Yogurt)
Listen to your hair! If it feels great, keep going. If it feels heavy or dry, adjust frequency.
Your Natural Hair Care Journey Starts Here
Making the switch to homemade hair conditioner is one of the most empowering things you can do for your hair – and for yourself. You’re taking control, choosing transparency, and embracing the gentle power of plants.
What to remember:
- Start simple – pick one recipe that matches your hair type
- Be patient during the 2-4 week adjustment period
- Stay consistent – natural ingredients work best with regular use
- Customize as you learn what your hair loves
- Have fun experimenting!
The journey to healthier hair doesn’t happen overnight, but it DOES happen. Studies show that 78% of people notice improvements within just 4 weeks, and the vast majority stick with natural products once they experience the difference.
For a truly holistic approach to wellness, consider exploring our guides on herbal wellness and natural body care – because true wellness is about nurturing every part of yourself with nature’s gifts.
Ready to Transform Your Hair Care?
Pick your first recipe, gather your ingredients, and give it a try this week. Your hair will thank you! 🌿✨
Written by Doo & Rita
Doo and Rita are sisters, herbal wellness enthusiasts, and DIY beauty lovers who explore plant-based ingredients through hands-on experiments. We share tips and recipes we personally test, always with a gentle, nature-first approach.
Disclaimer: The information provided in this article is for educational and lifestyle purposes only and is not intended as medical advice. It does not diagnose, treat, cure, or prevent any disease. Always listen to your body and consult a qualified healthcare professional for personal health concerns. Contact: [email protected]