
Homemade Shampoo: 15+ Easy DIY Recipes for All Hair Types
By Doo & Rita – 18 min read – tested in our own kitchen since 2020
Spring 2020. Pharmacies were empty, deliveries were taking three weeks, and Doo was down to the last of her commercial shampoo with one clear thought: she didn’t want to order more. She called Rita. Rita said, “I have Castile soap and honey.” The first batch was too oily. The second smelled too strongly of essential oil. The third was decent. The fourth was good. They still make the fourth—with a few adjustments.
Five years and dozens of batches later, homemade shampoo is at the heart of both their routines—not because it’s perfect every time, but because they know exactly what’s in it and why. This guide is everything they’ve learned, including the mistakes.
Are you looking to simplify your beauty routine with more natural alternatives? Many people are discovering the benefits of DIY hair care and creating their own hair cleansing products at home. Just as you might explore natural skincare options, making your own shampoo can be a rewarding experience that gives you control over the ingredients you use on your hair.
By creating your own homemade shampoo recipe, you can choose ingredients that work well with your hair type. Whether you have dry, oily, or combination hair, a personalized approach can help you achieve the look and feel you desire.
⚡ QUICK ANSWER
How to make homemade shampoo?
Four things to get right before you start:
Castile soap or coconut milk
Guides every decision
Freshness + no plastic leach
No synthetic preservatives
Simplest start: 1 cup distilled water + 1/2 cup liquid castile soap + 1 tbsp olive oil + 1 tsp honey. Mix gently. Bottle. Done. That’s the base recipe — everything else is customisation.
🔍 DEFINITION — HOMEMADE SHAMPOO
Homemade shampoo is a DIY hair cleansing formula made from plant-based ingredients — typically a cleansing base (liquid castile soap or coconut milk), a carrier oil, and optional botanical additions like essential oils, herbal infusions, or honey. Unlike commercial shampoos, homemade formulas contain no synthetic sulfates, parabens, or artificial preservatives, and are made in small batches for freshness.
There are two main formats: liquid shampoo (water-based, used in the shower like a regular shampoo) and dry shampoo (powder-based, applied between washes to absorb excess oil). Both can be customised for any hair type — dry, oily, curly, colour-treated, or sensitive scalp.
Key facts: Shelf life 2–3 weeks without preservatives · Glass storage recommended · Adjustment period of 2–4 weeks when switching from commercial · Less lather than store-bought — normal and expected · Cost: approx. $3–7 per batch vs $8–25 commercial.
⬇ JUMP TO SECTION
🧪 JUMP TO RECIPE
Table of Contents
📋 FULL CHEAT SHEET — HOMEMADE SHAMPOO AT A GLANCE
| Hair Type | Best Base | Key Add-ins | Shelf Life | Recipe |
|---|---|---|---|---|
| All hair types ⭐ | Castile soap | Olive oil, honey | 2–3 weeks | Basic recipe |
| Curly / textured | Coconut milk | Shea butter, aloe vera | 2 weeks | Curl recipe |
| Fine / thinning | Castile + ACV | Rosemary EO, peppermint | 2–3 weeks | Volume recipe |
| Colour-treated | Chamomile tea base | Argan oil, vitamin E | 1–2 weeks | Colour recipe |
| Sensitive scalp | Oat milk + castile | Calendula, aloe vera | 1–2 weeks | Gentle recipe |
| Oily scalp | Castile + ACV | Charcoal, clay, tea tree | 2–3 weeks | Clarify recipe |
| Dry shampoo | Arrowroot powder | Cocoa (dark), baking soda | 6–12 months | 5 formulas |
vs $8–25 for a commercial equivalent.
Liquid + dry shampoo for every hair type.
Typical adjustment period when switching from commercial.
No sulfates, parabens, or artificial fragrance.
The Appeal of Natural Hair Care
Switching to natural hair care with homemade shampoo can offer a gentler approach to maintaining your hair’s natural balance. Many people appreciate avoiding certain synthetic ingredients commonly found in commercial products. If you’re curious about what makes products truly natural, our guide to the best natural shampoo & conditioner explores key ingredients and certifications to look for.
Why Some People Prefer Alternatives to Commercial Shampoos
Commercial shampoos often contain sulfates, parabens, and synthetic fragrances. These ingredients can be quite strong and may strip hair of its natural moisture. Over time, some users notice their hair feels dry or their scalp feels sensitive.
Rita noticed this herself after years of using the same supermarket shampoo—her scalp felt tight on non-wash days, and her ends were dry despite regular conditioning. The moment she started reading ingredient lists, she couldn’t stop. Doo had the same realization independently, which is how the first kitchen experiment happened. Choosing milder ingredients may help maintain your hair’s natural moisture balance.

Environmental Considerations of Store-Bought Products
The environmental footprint of commercial shampoos includes packaging waste and the presence of certain chemicals in waterways. Making your own shampoo can help reduce plastic consumption and allows you to select eco-conscious ingredients. Doo reuses the same four glass pump bottles in rotation — they’ve been in circulation since 2021 and show no signs of stopping.
Cost Comparison: Homemade vs. Commercial
While the initial investment in ingredients might seem higher, making homemade shampoo can be more economical over time compared to purchasing premium commercial products. Creating your own shampoo can be a budget-friendly approach to hair care.
You can also customize recipes to your specific needs, potentially reducing the number of different products you need to purchase.
Choosing homemade shampoo is about more than just hair care—it’s about embracing a more mindful lifestyle. By selecting natural ingredients and minimizing packaging waste, you can make choices that align with your values.
Understanding Your Hair Type Before DIY
Before you begin creating your own homemade shampoo, it’s helpful to understand your hair’s characteristics. This knowledge will help you select ingredients that complement your hair’s natural tendencies.
Identifying Your Hair Texture and Characteristics
Your hair type is influenced by texture, porosity, and elasticity. To identify your hair’s needs, consider factors like how quickly it becomes oily, its moisture retention, or if you experience flaking. Understanding these characteristics will guide you in choosing appropriate ingredients for your DIY shampoo.
Doo has fine, straight hair that oils quickly at the roots—his formulas lean lighter, with less carrier oil and more ACV. Rita has thicker, slightly wavy hair that dries out easily — her version uses more coconut milk and a touch of shea butter. They make the same base recipe and customize from there. It took three or four batches each before they landed on the right balance, and that’s normal.

Common Hair Concerns Addressed Naturally
Many hair preferences and needs can be explored by adjusting your homemade shampoo recipe. Let’s explore some natural approaches for various hair care goals.
Support for Flaky Scalp and Dryness
For those experiencing scalp flaking or dryness, tea tree oil and apple cider vinegar are popular ingredients in natural hair care. They’re commonly used in hair care routines to help keep the scalp feeling fresh and comfortable.
Options for Oily Hair Management
If you have oily hair, ingredients like lemon juice or clay can help absorb excess oil and refresh your scalp.
| Hair Type | Common Concerns | Popular Ingredients |
|---|---|---|
| Dry/Curly | Dryness, Frizz | Coconut oil, Shea butter |
| Oily | Excess oil | Lemon juice, Clay |
| Normal/Combination | Balancing needs | Olive oil, Aloe vera |
By understanding your hair type and selecting compatible ingredients, you can create a homemade shampoo that cleanses while addressing your specific hair care goals.
Essential Ingredients for Homemade Shampoo
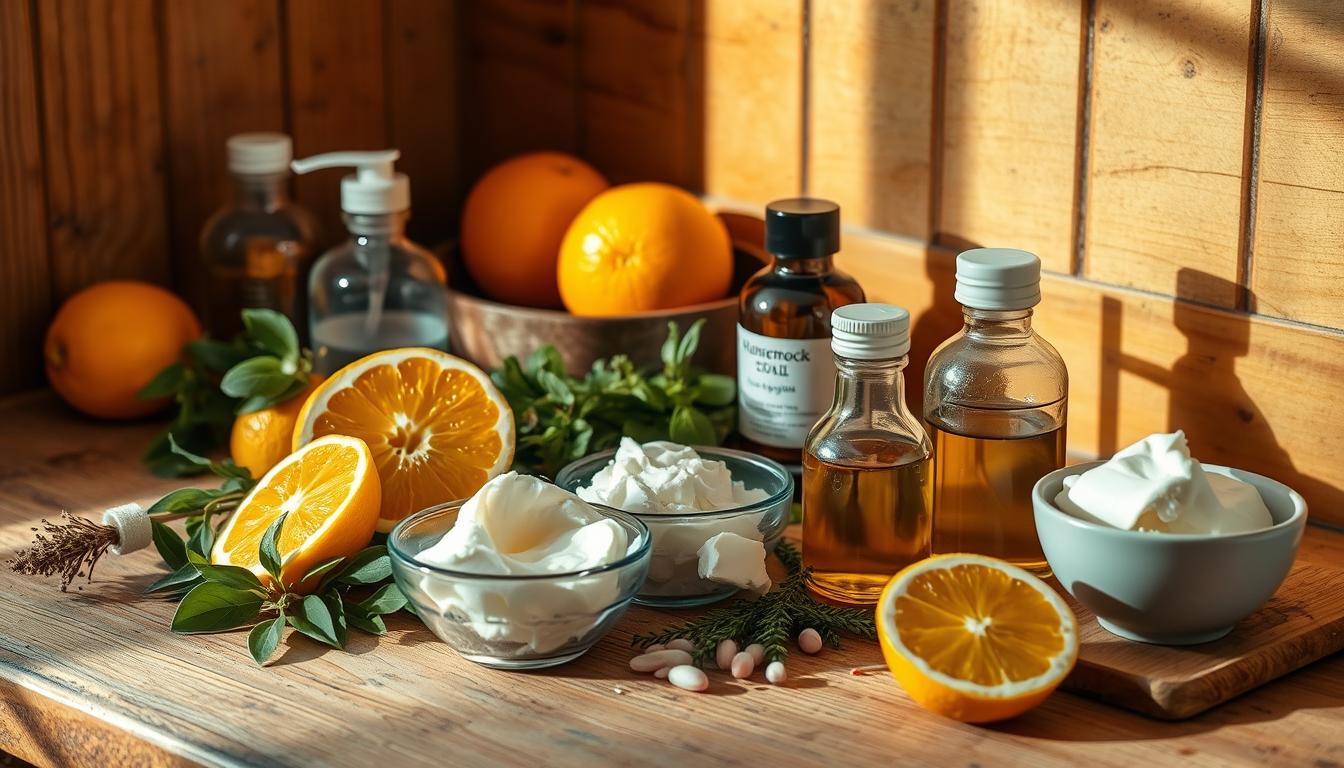
Homemade shampoo recipes typically include a few key components that provide cleansing, moisturizing, and nourishment. Understanding these ingredients is essential for creating a formula that works for your hair.
Base Cleansing Components
Base cleansing agents form the foundation of your shampoo, helping to remove buildup and refresh your hair. Here are some popular options:
Castile Soap
Castile soap is made from olive oil and offers gentle cleansing properties without stripping away too much natural moisture. It’s the base Doo and Rita use most consistently — unscented, so you control exactly what fragrance goes in. They use Dr. Bronner’s, but any quality liquid castile works well.
Coconut Milk
Coconut milk provides both cleansing and moisturizing properties, making it suitable for dry or textured hair. Rita uses it as a partial base in her curly hair formula — it gives the shampoo a creamy texture that rinses out cleanly without residue.
Herbal Infusions
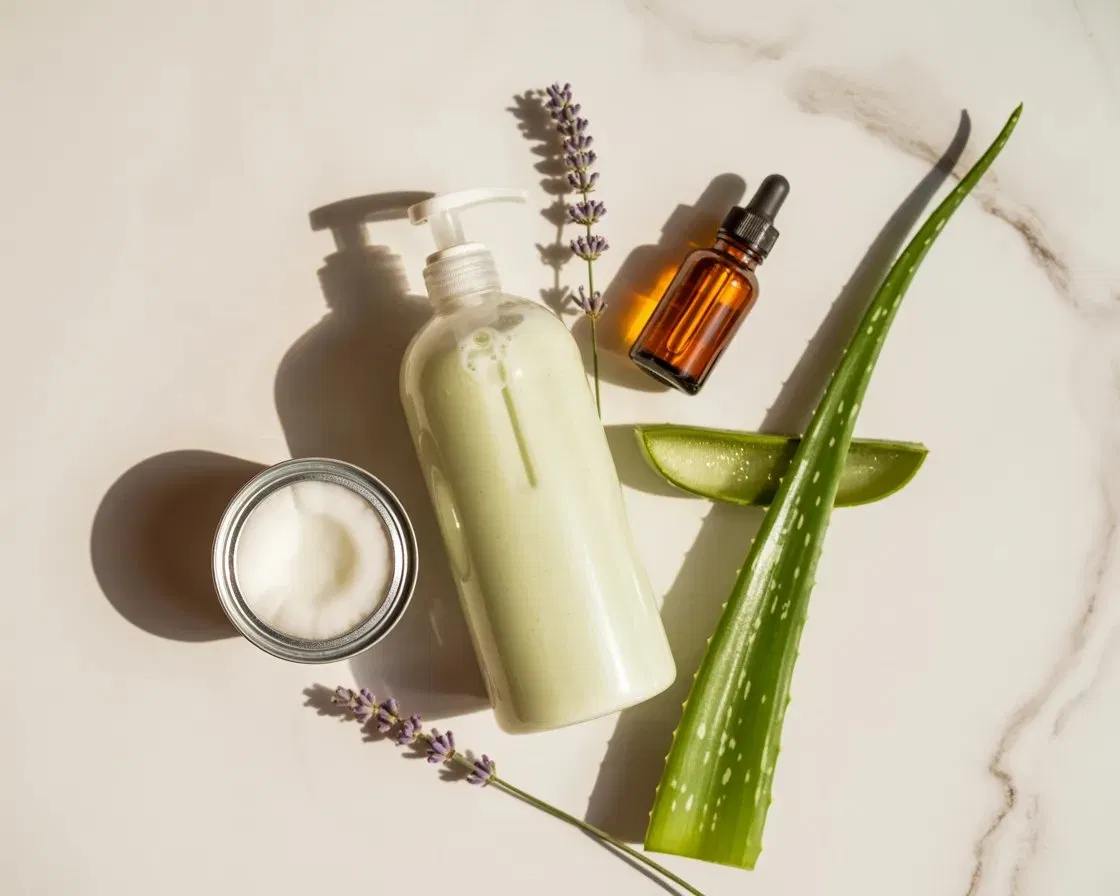
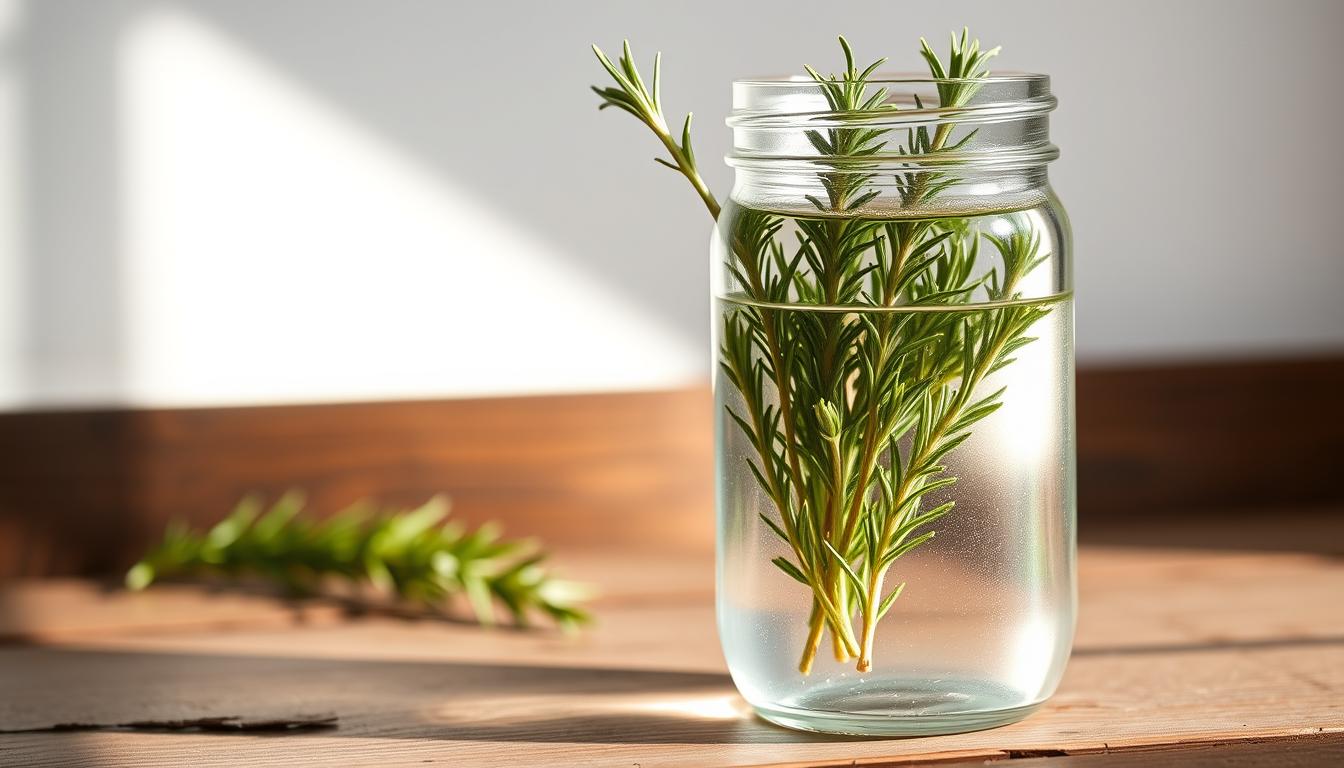
Herbal infusions can enhance your shampoo’s cleansing abilities while offering complementary benefits like soothing properties or a pleasant aroma. Rosemary water, for instance, is a popular choice for its refreshing qualities. Learn how to make rosemary water for hair to incorporate into your DIY shampoo recipes. Aloe vera is another excellent herbal base — our aloe vera shampoo guide covers how to build a complete shampoo around it. If you’re also interested in the infused oil approach for scalp massage, our how to make rosemary oil guide covers that separately.
Natural Moisturizers and Softeners
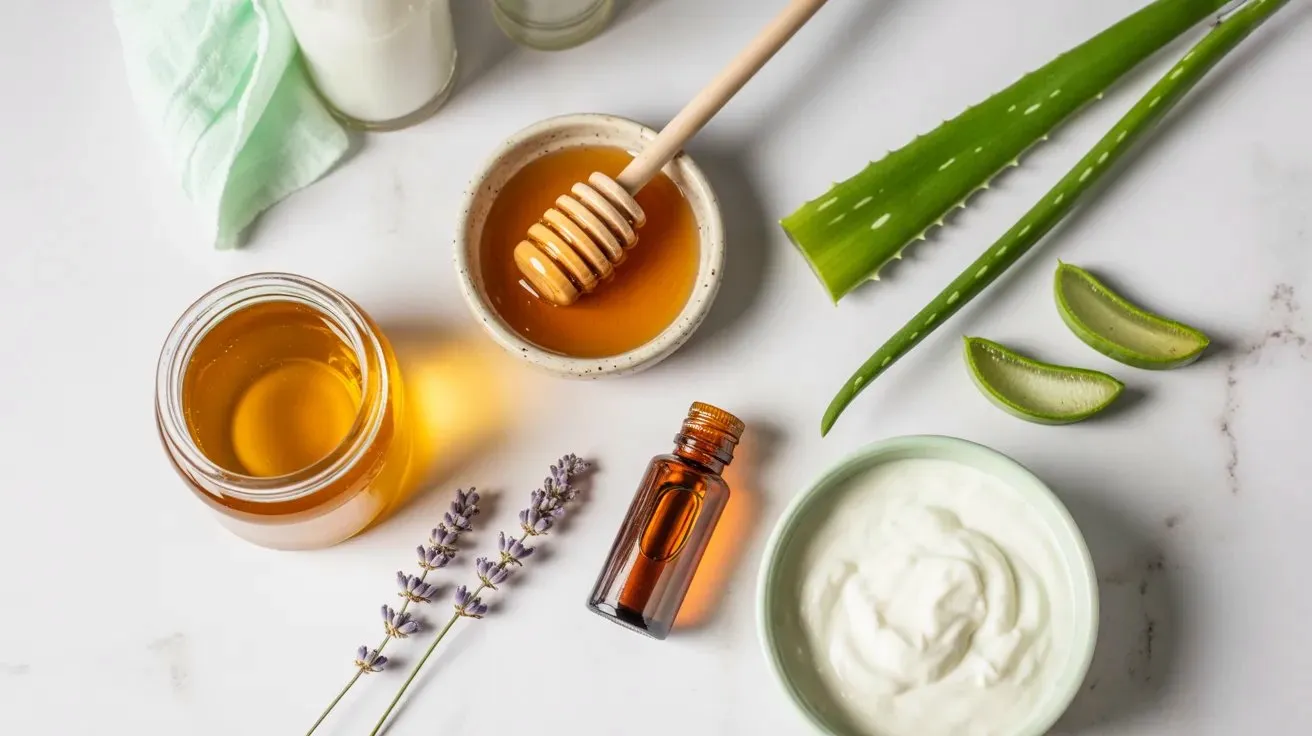
For well-hydrated, manageable hair, incorporate natural moisturizers. Shea butter, argan oil, and honey are excellent choices for their nourishing qualities. If you’re interested in specialized treatments, explore our guide to the best argan oil hair masks, which can complement your homemade shampoo routine beautifully.
Essential Oils for Fragrance and Enjoyment
Essential oils add pleasant scents and can enhance your hair care experience. Lavender oil offers a calming aroma, while tea tree oil is refreshing and popular for those with flaky scalps. Rita always adds 5 drops of lavender to her formula—it’s become the scent she associates with wash day, which sounds small but makes the routine feel genuinely enjoyable rather than functional.
Thoughtfully combining these ingredients allows you to create a homemade shampoo tailored to your hair’s unique needs.
Tools and Equipment You’ll Need
To create your own shampoo, you’ll need some basic tools and equipment. Having the right supplies makes the process more enjoyable and efficient.
Containers and Storage Solutions
You’ll need suitable containers to store your homemade shampoo. Glass bottles with secure lids work well to maintain freshness. Clean, repurposed shampoo bottles are also excellent options. Doo uses amber glass pump bottles — they block light and the pump dispenses exactly the right amount without over-pouring.
Measuring and Mixing Tools
Accurate measurements help ensure consistent results. Use a digital scale for precision. A mixing bowl and whisk or spatula will help you blend ingredients thoroughly.
Application Accessories
For applying your homemade shampoo, consider a shampoo brush or scalp massager. These tools help distribute the product evenly and make for a more enjoyable experience.
| Tool/Equipment | Purpose |
|---|---|
| Glass Bottles | Storage for homemade shampoo |
| Digital Scale | Measuring ingredients accurately |
| Mixing Bowl & Whisk/Spatula | Mixing ingredients thoroughly |
| Shampoo Brush or Scalp Massager | Application and scalp stimulation |
How to Make Homemade Shampoo: Basic Recipe for Beginners
Starting your DIY shampoo journey is simpler than you might think with this straightforward recipe. This is the formula Doo and Rita both started with—and the one they still recommend to anyone asking where to begin. Making your own shampoo at home gives you complete control over what you’re using on your hair.
Ingredients List:
- 1 cup distilled water
- 1/2 cup liquid castile soap
- 1/4 cup coconut oil (melted)
- 1/4 cup olive oil
- 2 tablespoons raw honey
- 2 teaspoons apple cider vinegar
- 10 drops of your preferred essential oil (optional)
Step-by-Step Preparation
Usage Instructions
To use your homemade shampoo, wet your hair thoroughly. Apply a small amount to your scalp and gently massage. Rinse with warm water. You may need to use slightly more product than commercial shampoo, as natural formulas typically produce less lather — this is completely normal and doesn’t mean it’s not working.
Storage and Freshness
Store your homemade shampoo in a cool, dry place. Since this recipe contains no synthetic preservatives, it’s best used within 2–3 weeks. Refrigeration can help extend freshness. Always check for any changes in smell or appearance before use.
How to Make Your Own Shampoo with Castile Soap
Looking for a gentle, plant-based cleansing option? Creating your own shampoo with castile soap is an excellent choice that works well for various hair types.
Benefits of Castile-Based Formulas
Castile soap is made from olive oil and offers gentle moisturizing properties. Using it in your shampoo creates a product that leaves hair feeling soft and manageable. It’s also eco-conscious and free from harsh synthetic ingredients. Rita has used castile soap as her shampoo base exclusively since 2021 and describes it as the single most useful ingredient in her entire DIY haircare toolkit.
Recipe and Mixing Instructions
Customization Options for Different Hair Types
Enhancements for Dry Hair
For dry hair, consider adding extra coconut oil or shea butter. These ingredients help retain moisture and reduce the feeling of dryness.
Modifications for Oily Scalp
For those with oily scalps, adding tea tree oil can provide a refreshing feel. Alternatively, reduce the amount of olive oil to avoid adding extra heaviness. Speaking of olive oil, choosing the right type matters—discover our recommendations for the best olive oil for hair care to ensure you’re using high-quality ingredients.
Apple Cider Vinegar Shampoo DIY
Incorporating apple cider vinegar into your shampoo routine can be a game-changer for maintaining balanced, shiny hair. It helps support your scalp’s natural pH and can enhance shine.
Understanding ACV’s Role in Hair Care
Apple cider vinegar’s natural acidity is often used to smooth the hair’s surface for easier styling and to gently rinse away product residue. The acetic acid in ACV clarifies and offers a fresh, balanced feel on the scalp. Doo adds 2 teaspoons to every batch of his formula without exception — he notices the difference in shine and scalp comfort when he skips it.
Basic Recipe and Variations
Application Techniques
Wet your hair thoroughly, apply the shampoo mixture, and gently massage it into your scalp. Rinse with warm water, followed by a cool water rinse to help seal the hair cuticle. Adjust the ACV amount based on how your hair responds.
Combining with Other Natural Ingredients
Enhance your ACV shampoo with complementary natural ingredients. Adding essential oils like lavender or tea tree oil can create a more personalized experience. Experiment with different combinations to find what works best for your hair.
How to Make Homemade Dry Shampoo
Creating your own dry shampoo can be a convenient addition to your hair care routine, perfect for refreshing your hair between washes. Rita started making her own dry shampoo after finding that commercial versions left a chalky residue on her darker roots. Two batches of trial and error later, she landed on the brunette formula below—it blends invisibly and smells of peppermint rather than aerosol. Learning how to make your own dry shampoo gives you control over ingredients and customization options.
Benefits of DIY Dry Shampoo
DIY dry shampoo offers several advantages. You can avoid certain synthetic ingredients in store-bought versions and customise it to your preferences. Plus, it’s budget-friendly and uses simple ingredients you may already have at home.
Ingredients for Different Hair Colors
| Hair Color | Main Ingredients | Special Benefits |
|---|---|---|
| Blonde/Light | Arrowroot, Baking Soda | Light texture, invisible finish |
| Brunette/Dark | Arrowroot, cocoa, and Cinnamon | Color-matched oil absorption |
| All Colors (Volume) | Arrowroot, kaolin clay, and Rice | Extra volume, texture |
| Red Hair | Arrowroot, cocoa, and Beetroot | Maintains red tones |
| Very Oily (Dark) | Arrowroot, charcoal, and Clay | Maximum oil absorption |
Application Methods
- Section your hair: Divide hair into sections to ensure even application
- Apply to roots: Sprinkle or shake a small amount directly onto oily areas
- Wait 2-3 minutes: Let the powder absorb oil
- Massage thoroughly: Use fingertips to work product into the scalp
- Brush through: Use a natural bristle brush to remove excess powder and distribute evenly
- Style as desired: Your hair should now feel refreshed and volumized
Pro tip: Apply dry shampoo before bed and brush out in the morning for even better oil absorption and a more natural look.
Storage Tips
- Use airtight glass jars or recycled spice shakers with small holes for controlled application
- Label containers with ingredients and date made
- Store in a cool, dry place away from humidity (avoid bathroom storage)
- Shelf life is typically 6-12 months when stored properly
- If powder becomes clumpy, add a few grains of rice to absorb moisture
Troubleshooting Common Dry Shampoo Issues
White residue visible: Use less product or ensure you’re massaging and brushing thoroughly. For dark hair, add more cocoa powder to your formula.
Not absorbing enough oil: Increase the amount of clay or charcoal in your recipe. Make sure you’re waiting long enough before brushing through.
Hair feels gritty: You may be using too much product. Apply less and focus on roots only, not lengths.
Powder won’t blend: Break up clumps before applying. Consider using a makeup brush for more controlled, even application.
Specialized Homemade Shampoo Recipes
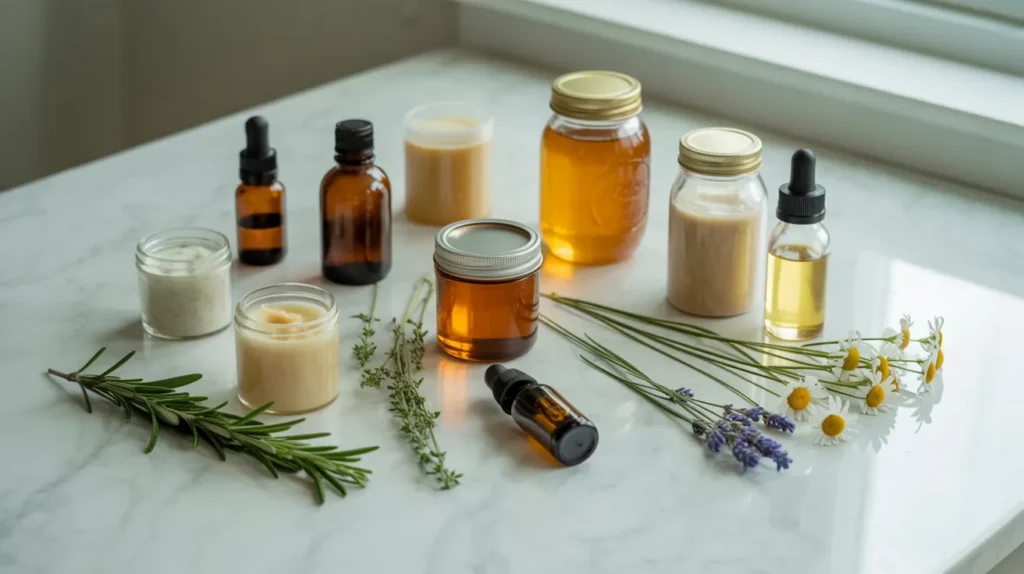
There’s a homemade shampoo recipe for every hair type and preference. These six formulas are the ones Doo and Rita have refined over five years of testing—each one started as an experiment and stayed because it worked.
For Curly and Textured Hair
Curly and textured hair benefits from extra moisturizing ingredients that help define curls and minimize frizz. Shea butter, coconut oil, and aloe vera are excellent choices. This formula is Rita’s weekend wash day recipe—she uses it every Sunday before applying the aloe vera hair mask to her ends. For a wider range of DIY hair masks to combine with your homemade shampoo routine, our DIY natural hair masks guide covers 15+ recipes for every hair concern.
For Fine and Thinning Hair
Fine hair benefits from lightweight formulas that won’t weigh it down. This is Doo’s daily formula — he’s been using it since month three of the DIY experiment and describes it as the only shampoo that has ever made his fine hair feel genuinely clean without feeling stripped. For a dedicated guide to adding rosemary essential oil to your shampoo routine with precise dosage and 3 more recipes, see our rosemary oil shampoo guide.
For Color-Treated Hair
Color-treated hair benefits from gentle, protective ingredients. Rita developed this formula after a particularly aggressive color treatment left her hair feeling fragile—the chamomile base was her solution.
For Sensitive Scalp
A sensitive scalp appreciates soothing, gentle ingredients. This ultra-gentle formula uses oat milk as the base—it’s the recipe Doo recommends first when friends ask about starting DIY haircare with a reactive scalp.
Clarifying Charcoal Shampoo for Oily Scalp
For those with excess oil production, activated charcoal and clay are often added to DIY blends for their clarifying and absorbent qualities. If you’d also like a ready-made approach for oily or flaky scalps, our tea tree shampoo for dandruff guide covers the dedicated tea tree approach in full.
Protein-Rich Beer Shampoo for Damaged Hair
Beer contains proteins and B vitamins and is traditionally used in DIY care for its ability to enhance hair’s texture and natural shine.
| Hair Type/Concern | Key Ingredients | Desired Experience |
|---|---|---|
| Curly/Textured | Coconut Milk, shea butter, and Aloe Vera | Perceived hydration, Curl definition, Frizz control look |
| Fine/Thinning | Apple Cider Vinegar, Rosemary, Mint | Lightweight feel, Adds visible volume, Fresh scalp sensation |
| Color-Treated | Chamomile, Argan Oil, Vitamin E | Color-friendly, Naturally antioxidant-rich, Gentle formula |
| Sensitive Scalp | Oat Milk, Calendula, Aloe | Soothing feel, Ultra-gentle approach, Calming experience |
| Oily Scalp | Charcoal, Clay, Tea Tree | Clarifying sensation, Oil absorption, Fresh feel |
| Damaged Hair | Beer, Egg, Honey | Protein-rich blend, Traditional strengthening, Visual smoothness |
Homemade Shampoo and Conditioner Combinations
Enhance your hair care routine with complementary homemade shampoo and conditioner combinations designed to work harmoniously together. For those interested in exploring preformulated natural options alongside DIY recipes, check out our natural haircare guide for product recommendations that align with natural DIY principles.
Complementary Conditioner Recipes
Creating a conditioner that pairs well with your homemade shampoo is straightforward. Use ingredients like coconut oil, shea butter, and essential oils for a nourishing finish. Rita follows every wash with a simple conditioner of coconut oil, honey, and lavender—applied mid-lengths to ends only, left on for three minutes, then rinsed with cool water. For complete DIY conditioner recipes to pair with your homemade shampoo, our homemade hair conditioner guide covers several formulas for different hair types.
Two-in-One Formulations
Two-in-one shampoos simplify your routine by combining cleansing and conditioning. Mix a gentle cleanser with moisturizers like vegetable glycerin or honey. This approach works well for normal to dry hair types.
Natural Hair Rinses That Enhance Homemade Shampoo
Herbal Rinses
Herbal rinses are prepared by steeping herbs in hot water. A chamomile rinse can be soothing and add natural highlights, while rosemary water is excellent for scalp support. Simply steep the herbs, strain, and use as a final rinse after shampooing. Rosewater is another wonderful option—check out our guide to the best rose water for hair to find quality options for your rinse routine.
Citrus Brightening Rinses
Citrus rinses, such as diluted lemon juice, help remove buildup and enhance shine. Mix the juice with water and use as a final rinse for a refreshed feel.
Transitioning From Commercial to Homemade Shampoo
Considering the switch from commercial to homemade shampoo? Understanding what to expect during the transition can make the process smoother and more enjoyable. Both Doo and Rita went through an adjustment period — and both nearly gave up in week two. This section is the one they wish they’d read before they started.
The Adjustment Period Explained
Transitioning to homemade shampoo requires an adjustment period for your hair and scalp. Commercial shampoos often contain strong detergents that can strip natural oils. Homemade shampoos work more gently with your hair’s natural balance, which means your scalp may temporarily overproduce oil as it recalibrates. Doo’s hair felt heavier than usual for about ten days before settling. Rita’s took closer to three weeks. Both describe the post-adjustment result as worth it.
Gradual Transition Tips
- Start by using homemade shampoo once or twice a week and gradually increase frequency as your hair adjusts.
- Consider alternating between your commercial and homemade shampoo initially to help ease the transition.
- Be patient — it may take a few weeks for your hair to fully adapt to the new routine.
What to Expect in the First Few Weeks
Your hair may feel different at first as you transition to a natural formula—this is a normal adjustment period. During the initial weeks, you may notice temporary changes as your scalp adapts. Be gentle with your hair and give it time to find its new balance. The adjustment period is not a sign that homemade shampoo isn’t working — it’s a sign that your scalp is recalibrating.
Troubleshooting Common Experiences with DIY Shampoo
Understanding how to adjust your DIY shampoo formula can help you achieve the results you’re looking for.
Hair Feeling Heavy or Greasy
If your hair feels heavy or greasy after shampooing, try reducing the amount of nourishing oils or rinsing more thoroughly. Adjusting the ratio of cleansing agents or incorporating more absorbent ingredients like clay or oatmeal can help. This was Doo’s first experience—he halved the olive oil in his formula and the problem resolved within two washes.
Scalp Sensitivity or Dryness
If your scalp feels sensitive or dry, lessen essential oils and try soothing ingredients like aloe vera or chamomile. Adding calming ingredients can provide more comfort. For a holistic approach to wellness, explore other natural body care practices that complement your hair care routine.
Inconsistent Results
Variable results can be related to water quality, hair porosity, or ingredient variations. Keep notes on your recipes and make small adjustments based on your observations to achieve more consistent outcomes. Rita keeps a small notebook in the kitchen—every batch gets a date, a recipe note, and a one-line verdict. It sounds excessive until you need to remember what you changed three batches ago.
Adjusting Recipes for Better Results
Don’t hesitate to experiment and refine your DIY shampoo recipe. If something isn’t working ideally, try changing one ingredient at a time to identify what needs adjustment. This methodical approach helps you create a formula that works perfectly for your hair.
Seasonal Adjustments for Your Hair Care Routine
As seasons change, your hair’s needs may shift as well. Different weather conditions can affect how your hair looks and feels. Doo switches formulas in October — slightly more olive oil, slightly less ACV — and switches back in April. It’s a small adjustment that makes a noticeable difference through the dry winter months.
Summer Formulations for Sun Protection
- Antioxidant-rich extracts like green tea or grape seed
- Nourishing oils such as coconut or argan oil
- Natural protective ingredients like raspberry seed or carrot seed oil
Winter Adaptations for Extra Moisture
- Increasing the amount of moisturising ingredients in your shampoo recipe
- Using a deep conditioning treatment weekly
- Avoiding very hot water, which can strip moisture from your hair
Humidity Considerations
- Add smoothing ingredients like shea butter or argan oil to your shampoo
- Use a leave-in treatment or hair serum to help smooth your hair’s texture
| Season | Hair Care Focus | Popular Ingredients |
|---|---|---|
| Summer | Protection, moisture retention | Green tea extract, coconut oil, protective seed oils |
| Winter | Extra moisture, nourishment | Shea butter, argan oil, deep conditioning ingredients |
Sustainable Packaging for Your Homemade Hair Products
When creating your own hair care products, consider environmentally conscious packaging options. Thoughtful packaging choices can reduce waste and align with eco-friendly values.
Eco-Friendly Container Options
Selecting appropriate containers is important for minimizing environmental impact. Glass containers are excellent choices—they’re safe, durable, and infinitely recyclable. Doo and Rita have been using the same set of amber glass pump bottles since early 2021—that’s four years and dozens of batches from four containers that would otherwise have ended up in a recycling bin.
Reusing and Recycling Tips
- Clean and thoroughly dry containers before reusing them
- Remove labels and residue to facilitate proper recycling
- Consider creative upcycling into storage containers or planters
Travel Solutions for Your DIY Products
When traveling, protect your hair products with leak-proof containers. Use travel-sized bottles and follow airline regulations if flying.
| Container Type | Eco-Friendliness | Travel Suitability |
|---|---|---|
| Glass Jars | High | Moderate |
| Recyclable Plastic | Moderate | High |
| Biodegradable Containers | High | Moderate |
📚 Sources & Scientific References
🧪 Five Years of Kitchen Experiments — What Doo & Rita Learned
🌿 Le premier batch — et le deuxième, et le troisième
Le premier était trop huileux — Doo avait mis trop de noix de coco. Le deuxième sentait tellement l’huile essentielle que Rita a éternué en ouvrant la bouteille. Le troisième était correct. Le quatrième était bon. C’est celui qu’elles font encore. La leçon : ne changez qu’un seul ingrédient à la fois, et prenez des notes à chaque batch. Sans notes, vous ne saurez jamais ce que vous avez fait de différent.
📓 Why Rita keeps a notebook
After making the same great batch twice and a terrible batch once — and not being able to identify what changed — Rita started writing everything down. Date, exact quantities, water type, essential oils used, and a verdict the following wash day. It sounds like overkill until you realise that “I used a little more honey this time” is the difference between a formula that works and one that leaves your hair sticky.
⚠️ The adjustment period almost beat us
By day ten of switching fully to homemade shampoo, Doo was ready to quit. His hair felt heavier than it ever had on commercial shampoo and he was convinced the formula was wrong. Rita persuaded him to give it another week. By day sixteen it had completely settled — his scalp had recalibrated and his hair felt lighter and cleaner than it had in years. He has not used commercial shampoo since.
💡 The ingredient that surprised them most
Neither of them expected honey to make as much difference as it does. It acts as a humectant — drawing moisture into the hair during washing rather than just coating it — and the results are noticeably different from batches made without it. It’s now non-negotiable in both their formulas. A teaspoon per batch is all it takes.
🔄 How their routines differ
Doo washes three times a week with his lightweight rosemary-mint formula and uses the dry shampoo between washes on the second day. Rita washes twice a week with her coconut milk curl formula and follows it with an aloe vera hair mask on one of those washes. Same starting point, completely different routines — which is the whole point of making your own.
📅 What five years actually looks like
A shelf with four glass pump bottles, a small jar of dry shampoo, a notebook with 40+ recipe entries, and a castile soap bottle that lasts two months. That’s it. The whole DIY haircare setup for two people fits on a single bathroom shelf and costs less per year than one commercial shampoo habit. That’s the honest summary of five years.
Conclusion: Embracing the Homemade Shampoo Lifestyle
You’ve discovered the many benefits of creating your own homemade shampoo. This approach offers a more natural way to care for your hair while supporting environmental consciousness and potentially saving money. Making your own shampoo gives you complete control over the ingredients you use.
Experimenting with different homemade shampoo recipes can be an enjoyable journey of discovery. Whether you’re looking to address specific hair concerns or simply want a more natural approach, DIY shampoo offers flexibility and personalization.
Continue exploring and adapting formulas as you learn what works best for your hair. Don’t be discouraged if some recipes need adjustment—this is part of the creative process, and it’s also most of the fun. By making your own shampoo, you’re taking an active role in your hair care while making choices that reflect your values.
Ready to make the switch? Start your natural hair care journey today with these simple DIY shampoo recipes—gentle, effective, and made with love at home.
FAQ
Doo et Rita sont les créatrices de Nature’s Herbal Remedy, un blog de bien-être à base de plantes. Elles ont commencé à faire leur propre shampoing au printemps 2020 — Doo avait un fond de shampoing commercial et l’envie de ne plus en commander, Rita avait du savon de Castille et du miel. Le premier batch était trop huileux. Le quatrième était bon. Elles le font encore. Chaque recette de ce guide a été testée dans leur propre cuisine.
Disclaimer: All content is for educational purposes only. We are not medical professionals. Always patch test new ingredients. Contact: [email protected]